A mil dot scope does more than mark aim points; it gives you a usable angular scale for judging distance, drop, and wind. Using a mil dot rifle scope correctly requires aligning your eye, confirming parallax, and reading the reticle in mils—not relying on guesswork.
Once you understand how the spacing translates to target size, you can estimate range and adjust your hold with far more confidence. This precision comes from knowing which errors to avoid next.
Key Takeaways
- Understand the mil-dot reticle: each dot or gap marks milliradian spacing for range estimation and hold adjustments.
- Center your eye behind the scope, set proper eye relief, and adjust parallax until the reticle stays fixed.
- Zero the scope from a stable bench using small, documented elevation and windage corrections with consistent ammunition.
- Estimate distance by matching target size to mil readings, then convert that range into drop and wind holds.
- Verify all readings with practice groups, recheck focus and zero regularly, and avoid guessing from partial targets or curved edges.
What Is a Mil Dot Rifle Scope?
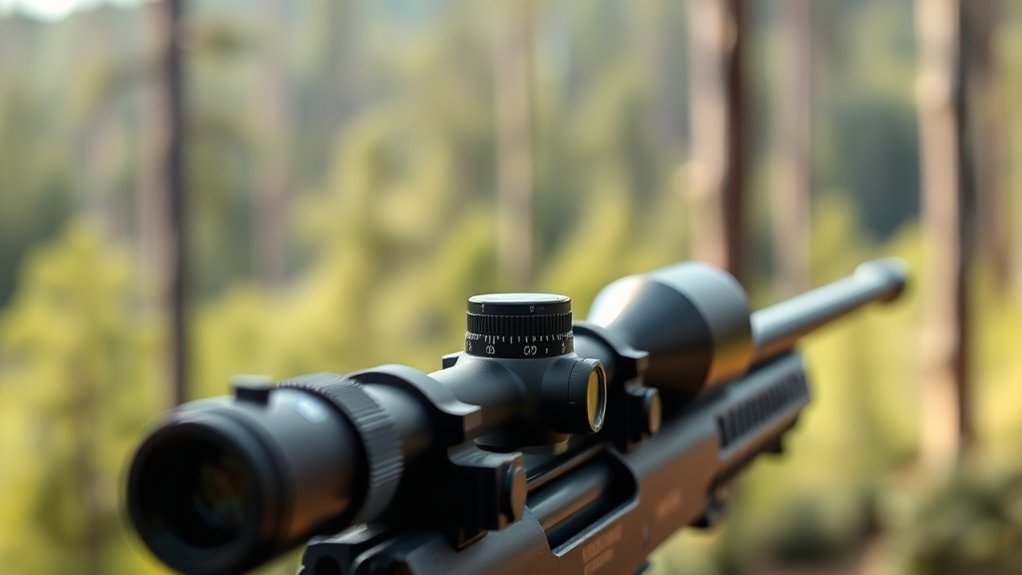
A mil dot rifle scope is an optical sight with reticle markings spaced in milliradians, or mils, that let you estimate range, hold for elevation and wind, and make precise shot corrections. You use it to gain a repeatable aiming reference for field shooting and calibration.
Its mil dot history traces to military ranging systems, where consistent angular units improved target assessment. In practical use, the scope’s turrets and reticle work together to support disciplined adjustments.
Good firearm ergonomics matter, because comfortable eye relief, cheek weld, and control placement help you maintain a stable sight picture. You should choose a model with clear glass, durable construction, and matching mil-based adjustments so your scope stays accurate, efficient, and easy to use.
Learn to Read the Mil Dot Reticle
To read a mil dot reticle, you need to identify the center crosshair, then count the dots and spaces along the stadia lines, since each dot usually marks 1 mil and the gaps between marks represent equal angular intervals. Use those marks to estimate target size or holdover with consistent reference points.
Read horizontally and vertically without guessing; each measurement depends on accurate alignment with the reticle pattern. Keep your scope clean and check gear maintenance regularly so the dots stay clear and sharp.
Practice safety by keeping the rifle pointed in a safe direction while you inspect the view through the optic. When you can identify half-mil and full-mil spacing quickly, you’ll read the reticle faster and apply measurements more confidently in the field.
Set Parallax and Eye Relief
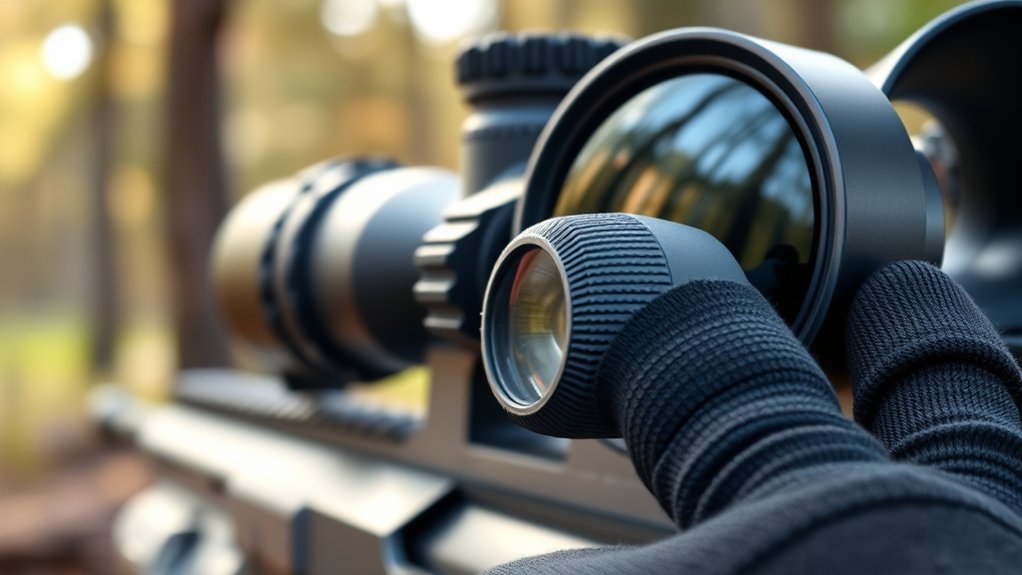
Position your eye directly behind the scope so the full image appears without shadowing or vignetting. Then adjust the parallax setting until the reticle stays fixed on the target as you shift your head slightly.
This alignment helps you eliminate parallax error and keeps your hold point accurate.
Adjust Eye Position
Set your head behind the scope so the full sight picture appears without a dark ring, then slide the rifle slightly or move your cheek weld until the reticle stays centered as your eye shifts. Keep your eye relief consistent so you maintain a safe distance and a repeatable image.
From your target stance, settle in behind the rifle, align your head naturally, and confirm the scope fills your view without strain.
Mount the rifle firmly and relax your neck. Move forward or back until the image snaps cleanly into view. Recheck cheek weld after every adjustment.
Use small, deliberate changes, not big corrections. When the sight picture remains stable, you’re positioned correctly and ready for the next step in the process.
Eliminate Parallax Error
How do you eliminate parallax error? Set the scope’s parallax adjustment to the target distance, then keep your cheek weld consistent. Look through the optic and move your head slightly; if the reticle appears to drift across the target, parallax remains.
Turn the side focus or objective bell until the reticle stays fixed when your eye shifts. Then refine eye relief so you see a full, clear field without scope shadow. Maintain the same head position for every shot, because small shifts can change impact point.
Confirm focus again at the chosen range, especially after changing distance. This process reduces parallax frustration and gives you repeatable aiming. Precise parallax and eye relief settings help you hold zero and place shots with confidence.
Zero Your Mil Dot Rifle Scope
Before you can use the mil dots for holdovers or range estimation, you need to zero the rifle so the point of impact matches your point of aim at a known distance. Set a stable bench, fire a careful three-shot group, and measure the group’s center against your aiming point.
Adjust elevation and windage in small, documented increments, then confirm with another group until the cluster centers on target. Use consistent ammunition and a steady cheek weld so your data stays repeatable during target practice.
Keep notes on turret clicks, and verify the zero after transport or temperature changes.
- Check scope mount torque
- Fire from the same position
- Confirm zero before wind reading
Range Targets With the Mil Dot Formula
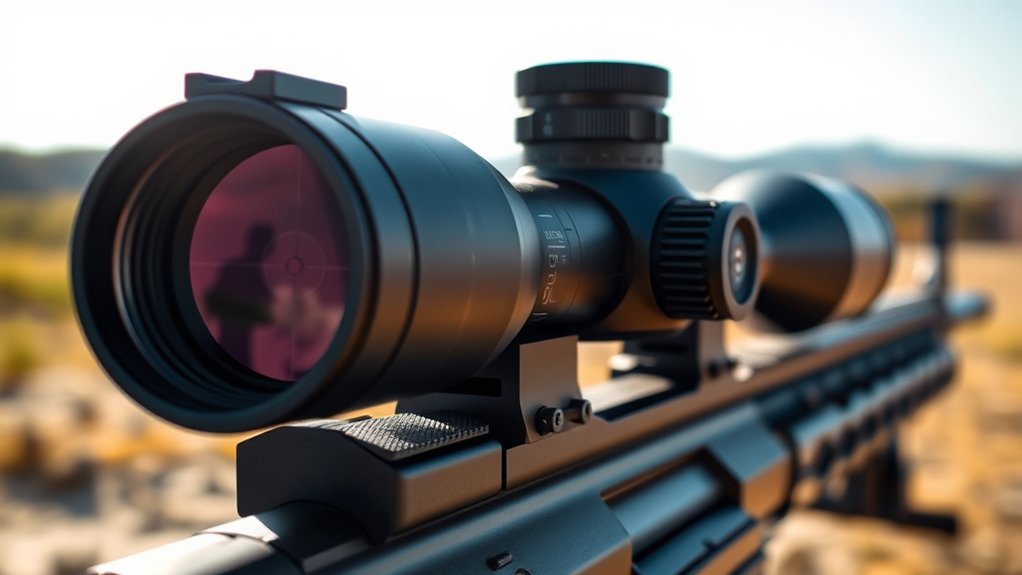
To range a target with the mil dot formula, measure how many mils tall or wide the target appears in your scope, then combine that value with the target’s actual size to estimate distance. Use the target’s known dimensions, apply the mil relation, and record the result for range estimation.
| Input | Action |
|---|---|
| Target height | Measure in mils |
| Actual size | Convert to yards or inches |
| Formula result | Calculate distance |
| Verification | Recheck reticle reading |
| Application | Set wind holds |
Keep your reticle steady and read the smallest consistent measurement. If the target changes angle or posture, resample before you trust the number.
Use the calculated range to support your dope, then adjust wind holds based on the distance you derived. Accurate ranging depends on clear target dimensions, a stable sight picture, and careful arithmetic.
Estimate Distance at Different Magnifications
When you estimate distance with a mil dot scope, first confirm the magnification reference point, usually the power setting where the reticle subtensions are calibrated.
As you change power, the scale changes with zoom, so you’ll need to adjust your distance calculation instead of assuming the mil spacing stays constant. Use the corrected range at each magnification to set your holdover accurately.
Magnification Reference Point
At higher or lower magnification, your mil dot measurements only stay accurate if you know the scope’s reference power and adjust your ranging method accordingly. Use the factory-calibrated magnification as your baseline, then verify reticle calibration before you trust a distance estimate.
Ambient lighting can affect how clearly you resolve each dot, so confirm visibility on the range, not just at the bench.
- Read the target width in mils with a steady hold.
- Apply the correct formula for the chosen power setting.
- Record the result and repeat for confirmation.
When you change magnification, keep your math tied to the reference point, not the apparent image size. That keeps your distance estimate consistent and reduces error.
Scale Changes With Power
How do you estimate distance accurately when the scope isn’t on its reference power? You must account for the changing apparent size of each mil spacing. At the calibrated power, the reticle subtends its marked value; at other settings, the scale shifts in direct proportion to magnification.
Use the scope’s reference ratio or formula to correct the reading before applying the range equation. If you double power, the mil spacing appears half as large, so your distance calculation changes accordingly. Verify the exact reference setting in the manual, and keep your math consistent.
Practice discipline by recording your chosen power before every estimate. Good equipment maintenance also matters, because loose rings, dirty lenses, or inconsistent turret settings can distort your reading and reduce ranging precision.
Holdover At Varying Zoom
Need a holdover at a different zoom setting? First, confirm your scope’s true mil relation at that power, then convert the reticle reading before you dial elevation. At low magnification, each mil covers more target area; at high magnification, it covers less.
Use the manufacturer’s scale or a known baseline to adjust your range estimate, then apply the corrected drop value. Ignore two word ideas that don’t change the math, and skip any irrelevant topic about wind flags until you’ve set holdover.
- Measure target height in mils at the current power.
- Scale the reading to the scope’s calibration magnification.
- Match corrected range to your drop chart and aim point.
Hold Over for Bullet Drop and Wind
When should you hold over with a mil dot scope? Use your reticle to compensate when your zero won’t place impact on target. Estimate drop in mils from distance, then raise your aim point by that amount.
For example, if your table shows 1.4 mils of drop, hold 1.4 mils high on the target. Apply the same method for wind dynamics: read wind speed and direction, convert the drift to mils, and shift your hold into the wind.
Keep your holding pattern consistent, and confirm each correction against your ballistic data. Don’t guess; verify with observed impact, then refine the hold. Small errors in range or wind reading produce misses, so make deliberate, measured corrections every shot.
Lead Moving Targets With Mil Dots
Holdover isn’t just for distance and wind; it also helps you track moving targets. You estimate lead by matching the target’s speed, angle, and range to mil dot spacing. At known distance, apply target pacing to judge how far the target travels during your sight picture. Start with a small lead, then refine through smooth follow-through.
- Track the target’s shoulder or chest, not its feet.
- Keep both eyes on movement and maintain steady cheek weld.
- Adjust for wind reading, because crosswind can shift your apparent lead.
Use the reticle to hold ahead of the target, not on it, and fire as the target enters your chosen dot reference. Practice until your lead becomes repeatable and your correction feels automatic.
Avoid Common Mil Dot Ranging Mistakes
One small ranging error can throw off every shot, so you need to check your fundamentals before you trust a mil-dot estimate. You should confirm target size, use the correct magnification for your reticle, and read only the center of each dot gap.
Check your fundamentals before trusting a mil-dot estimate: confirm target size, magnification, and center-to-center readings.
Don’t estimate against curved edges, partial shapes, or brush; those errors compound fast. Ignore mil dot myths that promise instant precision without verifying your math.
You also need to stop relying on ranging rituals, like counting dots by habit instead of measuring the full target dimension. Keep your head position consistent, because parallax and cant can distort the view.
If your range call looks questionable, recheck it before you dial elevation or wind. Precision starts with disciplined observation, not guesswork.
Practice Mil Dot Shooting at the Range
Start at the range by zeroing your rifle at a known distance, then confirm your mil dot holds with deliberate shot groups. Once the zero is stable, run real-world drills that force you to range targets, adjust holdover, and fire under time pressure.
Record each correction so you can verify your calculations and refine your technique.
Zeroing Practice
At the range, you’ll zero your rifle and confirm that your mil dots match real bullet impact at known distances, since a scope’s subtensions only help if your rifle, ammunition, and zero are all consistent. Use deliberate practice routines to shoot groups, adjust turrets, and recheck point of impact after each correction.
Keep your equipment selection simple: the same load, stable rest, and confirmed magnification setting.
- Fire a three- to five-round group at your zero distance.
- Measure the shift, then dial or hold until the group centers.
- Repeat at another known range to verify mil spacing and repeatability.
Record settings, wind, and temperature so you can reproduce the setup later. Consistent zeroing builds trust in every mil-dot measurement you make.
Real-World Drills
Now that your rifle is zeroed, move to realistic drills that force you to use the mil dots under time, distance, and target changes. Set steel or paper at unknown ranges, then range each target before engaging.
Use a timer and alternate between prone, kneeling, and barricade positions so you learn to stabilize quickly. Call out the range, then verify your holdover with the reticle, and record the correction.
Repeat with wind from different angles to test mil read accuracy under pressure. Keep each string short, inspect turrets and lenses between relays, and perform basic scope maintenance to prevent shift from loose mounts or dirty glass.
End every drill by logging errors, so you can identify bad estimates, tighten technique, and build repeatable dope for field conditions.
Frequently Asked Questions
Can Mil Dots Work on Illuminated Reticles?
Yes, you can use mil dots with illuminated reticles if the reticle design supports it. Mil dot illumination improves illuminated reticle visibility without obscuring subtensions.
You should verify brightness settings, then confirm precise target ranging.
Are Mil Dot Scopes Better Than MOA Scopes?
It depends: you’ll find neither a mil dot scope nor MOA is inherently better; in moa vs mil, choose the system you’ll measure, dial, and communicate fastest with. A stitch in time saves nine.
What Maintenance Does a Mil Dot Scope Need?
You need maintenance basics: keep lenses clean, check turret caps, and tighten mounts. Inspect seals, and store it dry.
For illuminated models, track battery life considerations and replace cells before voltage drops.
Can I Use Mil Dots for Air Rifles?
Yes, you can use mil dots on air rifles, but you’ll need to zero carefully and know your pellet’s trajectory. You’ll estimate range, holdover, and windage more accurately with consistent velocity and proper calibration.
Do Mil Dot Reticles Affect Scope Clarity?
No, mil dots don’t reduce scope clarity like fog on glass. You’ll still see clearly if optics are quality.
Check mil dots clarity and illuminated reticle compatibility; etched or thin wire reticles minimize visual obstruction.
Conclusion
You’ve now got the basics to use a mil dot rifle scope with confidence. When the reticle and target seem to line up by coincidence, verify the estimate anyway—small errors add up fast. Keep your eye relief steady, your image sharp, and your measurements consistent.
Zero your scope carefully, then use mil spacing to range, hold for drop and wind, and track moving targets. Practice often, and you’ll make fast, accurate corrections. With regular use, mastering a mil dot rifle scope will become second nature.