Nearly 70% of first-time rifle scope buyers choose the wrong magnification or mounting setup, which can ruin a rifle’s performance. When buying a rifle scope, you need to match the optic to your rifle, ranges, and conditions.
Next, weigh factors like magnification, objective size, reticle, turrets, eye relief, and fit. The details may look simple, but one overlooked spec can make the difference between a clean zero and a frustrating setup.
Key Takeaways
- Match the scope to your rifle, shooting distance, and conditions before comparing any models.
- Set a firm budget, including mounts, rings, and zeroing gear, then compare feature sets and reliability.
- Choose magnification based on use: low power for close shots, higher power for long-range precision.
- Pick objective lens size, reticle type, and focal plane to balance brightness, holdovers, and ranging needs.
- Check eye relief, field of view, mounting compatibility, and warranty before buying.
How to Choose the Right Rifle Scope?
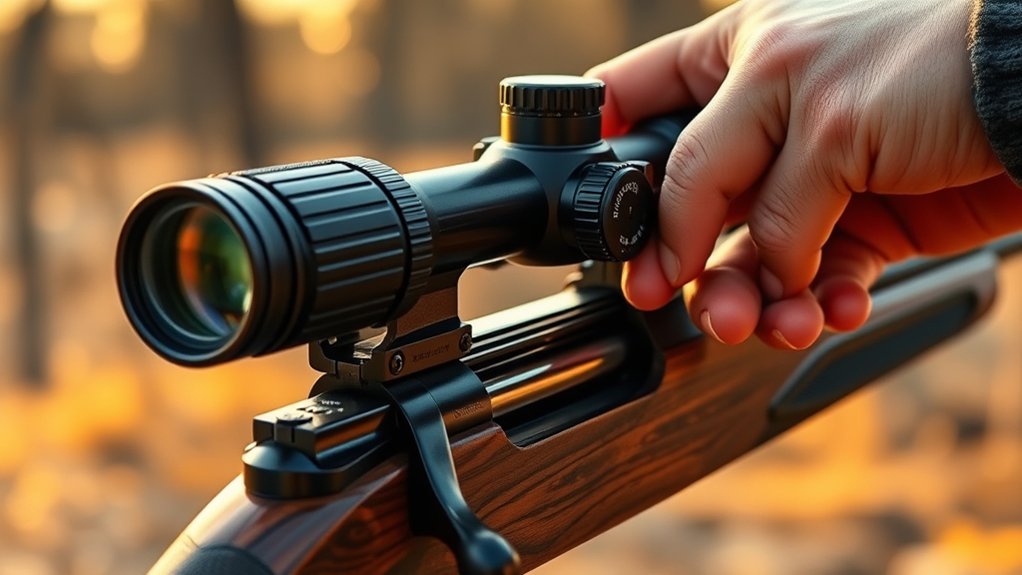
Choosing the right rifle scope starts with matching the optic to your rifle, your intended range, and the conditions you’ll shoot in. You should evaluate magnification, objective diameter, reticle design, turret style, and parallax adjustment against your actual use case.
If you hunt in low light, prioritize light transmission and a usable reticle. If you shoot at distance, choose repeatable adjustments and enough magnification to resolve targets.
You also need to confirm mounting compatibility, eye relief, and tube size before you buy. Compare budget categories by feature set, glass quality, and mechanical reliability, not price alone.
Check warranty implications carefully, because coverage, transferability, and service speed affect long-term value. A scope that fits your rifle and discipline will track predictably and perform consistently.
Set Your Rifle Scope Budget
Set a firm price range before you compare rifle scopes, because your budget will narrow the field fast. Balance cost against optical clarity, tracking precision, and durability, since the cheapest option rarely gives you the best value.
Keep some funds aside for mounts, rings, and any zeroing gear you’ll need.
Define Your Price Range
How much should you spend on a rifle scope? Define your price range before you shop, and treat budget planning as a constraint, not a guess. Set a firm ceiling, then assign a minimum acceptable spend so you can filter options fast.
| Price range | Scope tier |
|---|---|
| Under $100 | Basic |
| $100-$250 | Entry |
| $250-$500 | Mid |
| $500-$1,000 | Advanced |
| $1,000+ | Premium |
Use the table to match your intended use to a realistic range. A narrow budget keeps you focused, reduces impulse buys, and helps you compare models with the same feature set.
If your ceiling is fixed, don’t drift upward during browsing. Lock your number first, then evaluate scopes only within that price range.
Balance Cost And Quality
Now that you’ve fixed a price range, weigh what you gain against what you give up at each tier. In budget planning, treat a rifle scope as an optical instrument, not a commodity. Lower-cost models often use softer glass, looser turret tolerances, and less reliable tracking.
Mid-tier scopes usually deliver better coatings, repeatable adjustments, and stronger erector systems, which matters if you dial often. High-end scopes justify cost only when you need extreme light transmission, ruggedization, or precise zero retention.
- Compare magnification range to your actual shooting distance.
- Check turret clicks, parallax control, and reticle utility.
- Verify mount compatibility before buying aftermarket accessories.
Choose the lowest price that still meets your performance requirements without compromise.
Reserve For Accessories
A rifle scope budget shouldn’t stop at the optic itself; you need to reserve money for rings, a mount, lens caps, and, if necessary, a level or torque tool. These parts affect alignment, retention, and repeatable zero, so treat them as essential, not optional.
When you’re buying accessories, match ring height and base type to your rifle and scope objective diameter, then verify compatibility before you spend. Don’t ignore mounting hardware quality; poor fasteners can shift point of impact under recoil.
Include shipping, gunsmithing, and threadlocker in your rifle setup budget if you’ll need them. By planning for these costs up front, you avoid compromise, finish the installation correctly, and keep your total spend within a realistic, functional limit.
Match Rifle Scope Magnification to Your Use
What magnification do you actually need? Match it to your typical distance, target size, and shot timing. Low power gives you a wider field and faster acquisition for moving or close targets. Higher power lets you resolve fine detail when precision matters.
- For close work, use 1-4x or 2-7x and confirm bore alignment quickly.
- For general hunting, 3-9x or 2-10x balances speed and usable detail.
- For long-range shooting, 4-16x or 5-25x helps you read impact and refine holdovers.
Choose only as much magnification as you can stabilize; excess power magnifies wobble and slows sight picture recovery. Also check recoil impact, because heavy-recoiling rifles can punish overly delicate setups and shift your follow-through.
Pick the Right Objective Lens Size
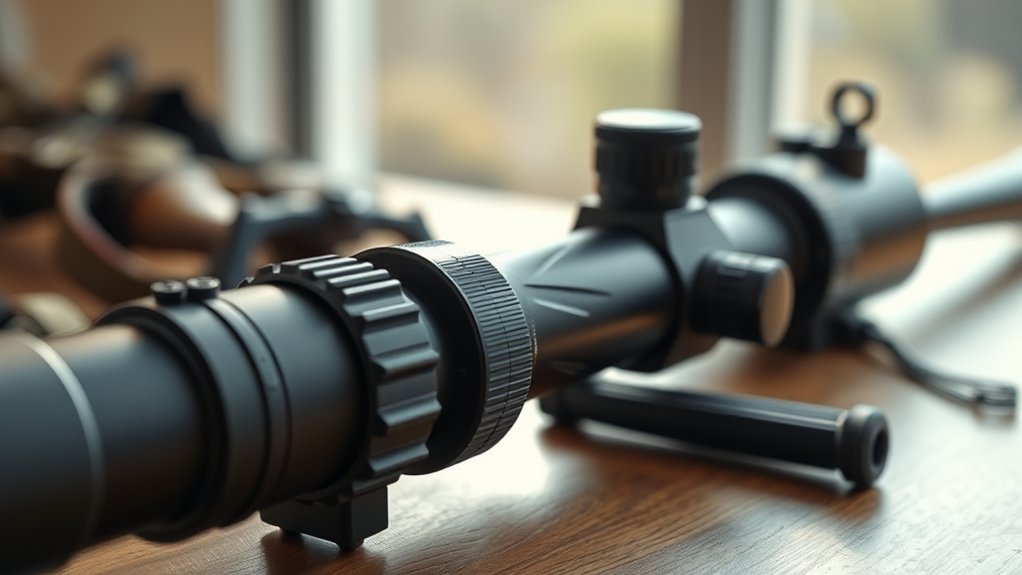
Objective lens size controls how much light your scope can gather, which affects image brightness, exit pupil, and low-light performance. You should choose the smallest lens that still gives you the image quality you need, because larger objectives add bulk, weight, and mounting height.
Choose the smallest objective lens that still delivers the brightness and performance you need.
A 40mm lens usually suits general field use, while 50mm and larger models help when dawn or dusk shots matter. Check your rifle’s clearance and ring height before you buy.
Two word discussion ideas like weight balance and light transmission can help you compare options quickly. Don’t overspec the optic; a bigger lens won’t fix poor setup.
Keep the lens clean, and scope maintenance should include proper caps, safe storage, and careful wipe-downs to preserve performance.
Choose a Rifle Scope Reticle That Fits
Choose a reticle type that matches your shooting style, since simple duplex, MOA, and mil-based designs each support different levels of precision and speed.
If you expect to hold over for elevation or wind, pick a reticle with calibrated holdover markings that you can use consistently at known magnification.
If you need ranging capability, choose a reticle with clear subtensions so you can estimate distance accurately against a target of known size.
Reticle Type Basics
The reticle is the aiming interface between your eye and the target, so pick a pattern that matches how you shoot. You’ll usually choose between duplex, mil-dot, BDC, or illuminated designs. Each changes how quickly you can center a target and how much precision you get at distance.
Check reticle material because etched glass usually resists recoil better than wire. Also confirm windage vs elevation reference marks are easy to read under your lighting conditions.
- Duplex: fast acquisition, simple sight picture.
- Mil-dot: precise spacing for measurement and corrections.
- Illumination: improves contrast in low light, not aim point size.
Match the reticle to your rifle, caliber, and typical engagement range. If you hunt thick cover, keep it simple. If you shoot across open ground, choose a measured pattern.
Holdover Markings
Holdover markings help you compensate for bullet drop without dialing every shot, so you should pick a reticle that matches your cartridge, zero distance, and typical shooting range. You want subtensions that align with your ballistic calculations, because mismatched spacing adds error at the rifle’s real trajectory.
| Marking | Use |
|---|---|
| 1 MOA hash | Fine corrections |
| 0.5 MIL hash | Tighter holds |
| BDC stadia | Cartridge-specific drop |
| Plain duplex | Minimal reference |
Choose a layout you can read instantly under recoil and low light. If your load shifts with velocity or altitude, verify the holdover markings at distance and note the actual impact offsets. That way, you’re using the reticle as a measured solution, not a guess.
Distance Estimation
Distance estimation becomes much easier when your reticle gives you a known reference for measuring targets, not just compensating for drop. You should choose a reticle with hash marks or mil/MOA spacing if you need practical distance estimation in the field. These subtensions let you bracket a target of known size, calculate range, and verify your solution before you dial. A clean, uncluttered reticle also helps you track impacts and improve wind reading at longer distances.
- Use consistent subtension values across magnification settings.
- Match the reticle’s units to your ballistic data and range card.
- Confirm target size assumptions before you trust any range estimate.
If you shoot varying terrain, a reticle that supports fast ranging and wind holds will give you better decision-making under pressure.
Choose Between First and Second Focal Plane
If you want your holds and windage marks to stay consistent at any magnification, choose a first focal plane (FFP) scope. Its reticle scales with the image, so subtensions remain true whether you’re zoomed in or out.
Use this focal plane choice when you rely on precise correction data. A second focal plane (SFP) optic keeps the reticle size fixed, so your reticle type works best if you mainly shoot at one magnification.
| Reticle type | Behavior | Best use |
|---|---|---|
| FFP | Scales with magnification | Precision holds |
| SFP | Stays constant | Simple shooting |
| Either | Depends on your system | Match your method |
Pick the option that fits your shooting style, data workflow, and need for repeatable ranging.
Check Eye Relief and Field of View
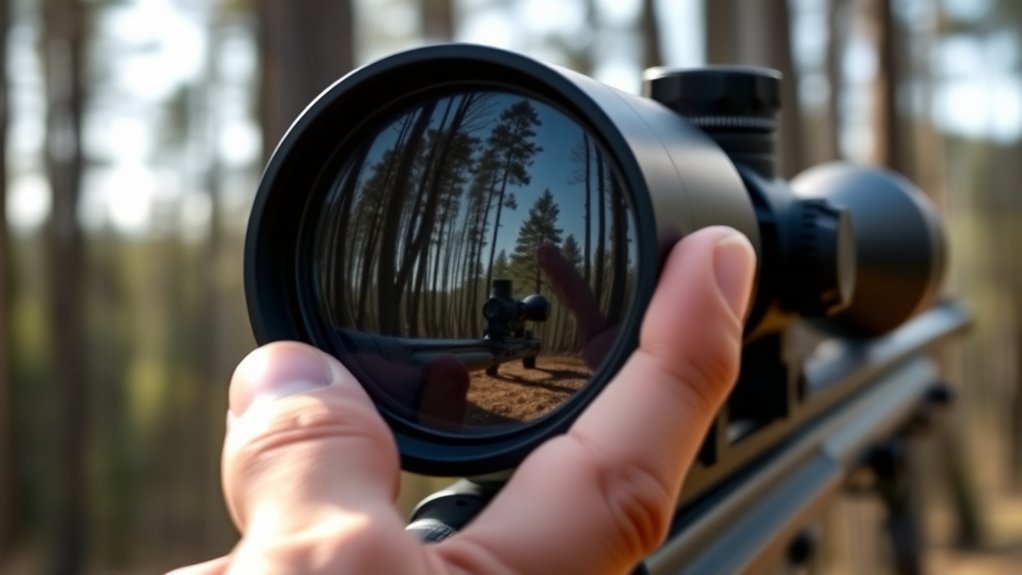
Eye relief and field of view determine how safely and quickly you can use a scope. You should verify eye relief first, because it keeps the scope far enough from your brow under recoil. Too little eye relief can cause injury; too much can force awkward head position.
Next, compare field of view, since a wider view lets you acquire targets faster and track movement with less scanning.
- Measure eye relief at your intended magnification.
- Confirm field of view at 100 yards or meters.
- Mount the scope and test your natural cheek weld.
When you shoulder the rifle, the image should appear full and centered without shadowing. If it doesn’t, choose a different scope or magnification range.
Understand Turrets and Adjustment Features
You should compare turret types first, because capped hunting turrets and exposed target turrets serve different adjustment needs. Check the click value, since each click moves the reticle a fixed amount, usually in MOA or mils.
You’ll want positive, repeatable clicks that track exactly, so your point of impact changes predictably.
Turret Types
Turrets control how a rifle scope’s reticle shifts in response to windage and elevation adjustments, so the turret design directly affects how fast and accurately you can dial for distance. You’ll see several turret types, and each one changes how you manage windage adjustments in the field or on the bench. Choose based on use, not marketing.
- Capped turrets protect settings and suit hunting.
- Exposed tactical turrets let you verify and change settings quickly.
- Zero-stop turrets help you return to a known baseline after dialing.
You should match the turret layout to your shooting role, since a compact hunting scope doesn’t need the same external controls as a precision optic. Check whether the turrets align with your shooting positions, glove use, and dialing frequency before you buy.
Adjustment Clicks
Adjustment clicks determine how precisely you can move the reticle, and those increments matter any time you dial for wind or distance. You should check how many adjustment clicks equal one minute of angle or one milliradian, because that tells you the scope’s correction step.
Finer clicks give you tighter control, while coarser clicks can speed field use. Make sure the turret markings match the reticle and your ballistic data, or your adjustments won’t track correctly.
During scope calibration, verify that each click produces a consistent point-of-impact change at distance. You also want audible, tactile clicks that you can count without looking.
If the turret feels mushy or inconsistent, skip it; unreliable adjustment clicks make precise zeroing and repeatable holds harder than they should be.
Make Sure Your Scope Mounts Fit
Before you buy, verify that the scope’s mounting system matches your rifle’s base and ring pattern, tube diameter, and mounting height. You need exact mounting compatibility, not guesswork, because small dimensional errors can shift eye relief and alignment. Run fitment checks before you order or install.
- Measure the rifle’s base spacing and confirm the ring standard: Picatinny, Weaver, dovetail, or proprietary.
- Match the scope tube, commonly 1 inch, 30 mm, or 34 mm, to rings sized for that diameter.
- Check objective bell clearance, bolt handle travel, and barrel contour to choose the correct height.
If you skip these checks, you may need adapters, offset rings, or a different mount. Confirm torque specs, too, so the assembly stays secure and centered.
Compare Glass Quality, Durability, and Warranty
Glass quality determines how much detail you can see, especially in low light, so compare lens clarity, coatings, edge sharpness, and color fidelity before you buy. You should inspect glass clarity by checking for distortion, chromatic fringing, and loss of contrast at the edges.
Better coatings improve light transmission and reduce glare, which helps you identify targets faster. Evaluate rugged construction by looking for sealed tubes, shock resistance, and dependable tracking after recoil and impact.
Then review warranty coverage carefully; strong lifetime support signals manufacturer confidence and lowers your long-term risk. Also confirm the return policy, because you may need to test the scope on your rifle before committing.
Choose the optic that balances optical performance, durability, and after-sale protection.
Frequently Asked Questions
How Do I Clean a Rifle Scope Lens Safely?
Use a clean blower, then lightly brush debris away. You should wipe with a microfiber cloth and lens cleaner, protecting lens coatings.
Follow cleaning safety by avoiding paper towels, solvents, and pressure that can scratch optics.
Can I Use a Rifle Scope on an Air Rifle?
Yes, you can, but you’re testing a theory: not every rifle scope matches air rifle compatibility. You’ll need proper mounting tools, careful zero maintenance, and performance accessories. Lens cleaning keeps optics sharp and reliable.
Do I Need Special Tools to Mount a Scope?
You usually don’t need many tools, but you do need tools for proper mounting torque: a torque driver, correct bits, a bubble level, and possibly thread locker. These keep your scope secure and aligned.
How Often Should I Recheck My Scope Zero?
Recheck your scope zero before every hunt and after any impact, transport, or temperature swing; otherwise zero drift can surprise you.
If you shoot regularly, recheck scope how often monthly to confirm consistency.
What Accessories Improve Rifle Scope Performance?
You’ll improve performance with quality rings, a rigid mount, lens caps, anti-reflection devices, and a torque wrench.
Regular scope maintenance preserves zero, while optic durability depends on sealed turrets, solid internals, and proper recoil-rated accessories.
Conclusion
When you’re ready to choose, keep your setup and shooting needs in clear focus. Match magnification, objective size, reticle, and eye relief to your rifle and distance. Then verify turret travel, mounting fit, and glass quality.
Set a realistic budget that includes rings and zeroing tools. Favor a scope with solid construction and dependable warranty support.
Make the final call with confidence, and you’ll have an optic that’s well suited to your hand. By following these steps, you’ll be well on your way to buying a rifle scope that meets all your requirements.