A thin steel shim slips under the scope base like a sliver of light, changing the line of sight by a fraction.
If your rifle scope won’t zero cleanly or the tube binds in the rings, you can correct the misalignment without forcing the hardware.
You’ll need the right thickness, careful placement, and a level setup to keep the optic true—and the next step is where most mistakes start.
Key Takeaways
- Shim a rifle scope only to correct small alignment problems when zeroing requires excessive elevation adjustment.
- Place thin, uniform shim material under one ring half to tilt the scope slightly and center the reticle.
- Keep shims flat, centered, and debris-free to avoid tube stress, cant, or recoil-related movement.
- Tighten ring screws in sequence and to spec, checking scope level and alignment before final torque.
- Recheck zero and tracking; if large errors remain, inspect the base, rings, and receiver or replace faulty parts.
What Does Shimming a Rifle Scope Do?
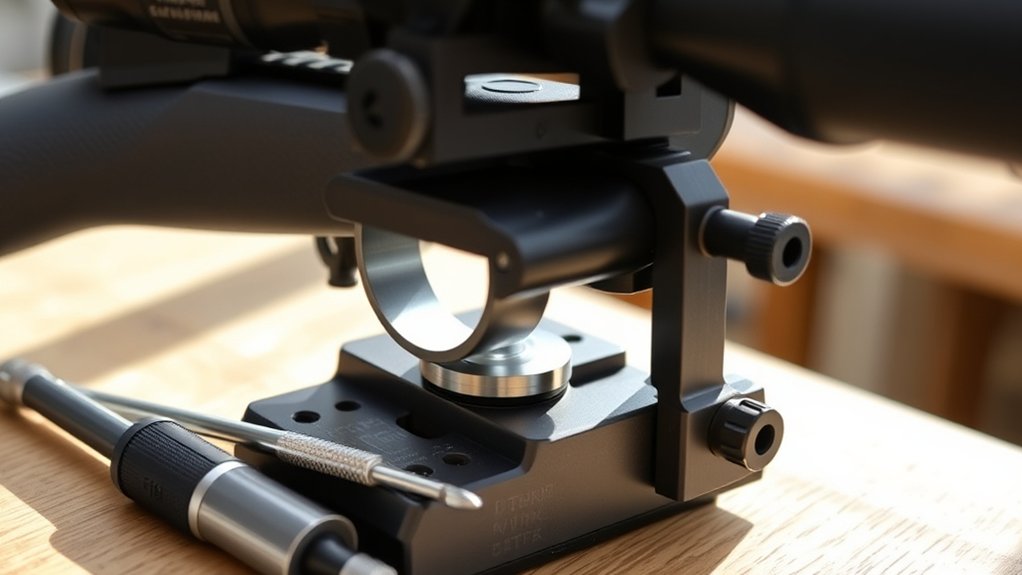
Shimming a rifle scope changes the angle of the optic in its rings so the reticle points closer to the rifle’s point of impact, which can help correct limited elevation or windage adjustment. You use thin material under one ring half to tilt the scope body slightly, shifting the sight line without altering the rifle itself.
This lets you center the reticle and align the optic with the bore more effectively. Shimming doesn’t replace proper mounting, torque, or zeroing; it only compensates for alignment error inside the mount interface. If your setup needs it, you’re addressing geometry, not an unrelated topic.
Keep the adjustment minimal, because excessive shim thickness can stress the tube and create an irrelevant discussion about accuracy causes unrelated to scope alignment.
When Should You Shim a Rifle Scope?
You should shim a rifle scope when you need excessive elevation adjustment just to zero the rifle, because that often indicates a mounting alignment problem.
You may also need shims if the scope base isn’t aligned with the bore or receiver, which can force the optic off-center. In these cases, shimming can help correct the angle before you exhaust the scope’s adjustment range.
Excessive Elevation Needed
If your scope runs out of elevation before you can zero the rifle, the base or rings likely don’t align with the bore. You should confirm the issue with a centered turret, then fire a test group at your chosen distance.
If you still need excessive elevation, shimming can correct the angle and bring the optic into range. Use thin, uniform shims only when the required correction is small and the setup remains mechanically sound.
Don’t use shims to fix an unrelated topic or drift into off topic discussion about ammunition or holdovers. Check that the action, base, rings, and scope sit square before you add material.
If the rifle zeros normally with minimal elevation, shimming isn’t needed. Excessive elevation demand is the signal that alignment warrants correction.
Misaligned Scope Base
A misaligned scope base is a common reason a rifle needs shims, especially when the optic sits out of parallel with the bore and forces the turret off center just to zero. You should check for a misaligned base if windage or elevation correction is extreme before the rifle prints near center.
Look for base mounting issues such as uneven screw torque, damaged screws, burrs under the rail, or receiver holes that don’t match the base geometry. If lapping, reinstallation, or proper torque doesn’t restore alignment, shimming can correct the angle and reduce stress on the scope tube.
Use only thin, uniform shims, then recheck zero and tracking. If the deviation remains large, replace the base or consult a gunsmith.
Tools You Need to Shim a Rifle Scope

Before you shim a rifle scope, gather the right tools so you can work accurately and avoid damage. Use a torque driver, bubble level, shim stock, degreased cloth, and proper ring screws. Keep a non firearm topic mindset: organize unrelated equipment away from the bench to prevent contamination and confusion.
| Tool | Purpose | Notes |
|---|---|---|
| Torque driver | Controls fastener load | Match spec |
| Bubble level | Checks alignment | Use on receiver |
| Shim stock | Corrects angle | Cut precisely |
| Cloth | Cleans surfaces | Remove oil |
| Screw kit | Secures rings | Verify thread fit |
Select tools with calibrated measurements and clean contact surfaces. Confirm the scope ring size, base fit, and shim material thickness before you begin. Avoid improvised hardware, since poor tolerances can distort alignment and damage optics.
How to Shim a Rifle Scope Step by Step
First, gather your shimming tools so you have the correct inserts, drivers, and a clean work surface ready.
Next, align the scope in the rings and base so the reticle sits level and the tube tracks straight.
Then install the shim carefully, checking fit and tension as you tighten to avoid stress on the scope body.
Gather Shimming Tools
To begin shimming a rifle scope, gather the right tools: thin shim stock or aluminum foil, a properly fitted screwdriver or torque driver, a bubble level or alignment tool, a bore sight if available, and a clean work surface. Choose shim materials that stay flat and won’t crush under screw tension. Confirm base mounting screws match your hardware, and keep a lint-free cloth nearby to protect finishes.
- Confidence
- Control
- Precision
- Relief
- Readiness
Lay each item within reach before you touch the optic. Check that your driver fits the screw heads exactly, because cam-out can mar parts fast. Sort shim materials by thickness so you can make small, repeatable adjustments. A stable layout reduces errors, speeds the job, and helps you work with purpose.
Align Scope Properly
With your tools laid out, set the scope and base in position and check the optic’s alignment with the bore. You should center the reticle while keeping the rifle steady in a rest. Then compare the vertical crosshair to a plumb reference, and confirm the horizontal crosshair stays level.
Small deviations now indicate where correction is needed before concerned maintenance continues. Use consistent eye relief so you don’t misread the picture. Keep the optic’s turrets square to the receiver and avoid judging alignment against unrelated calibers or mismatched mounts.
If the scope tracks true in the bore view, you’ve set a valid baseline. Recheck alignment from the same firing position, since a shifted posture can hide error and distort the final zero.
Install Shim Carefully
Slide the shim into the correct interface between the base and scope ring, then seat the scope and check that the reticle remains level. Keep pressure even while you snug the screws, and don’t let the shim fold, slip, or pinch.
Tighten in small increments, alternating sides so the ring clamps uniformly. If you see cant or binding, back off and realign before final torque.
Relief when the crosshair stays true
Confidence from clean alignment
Frustration avoided by careful seating
Trust in repeatable impact points
Control through disciplined torque
Store spare shims in fail safe storage, labeled by thickness and rifle. Record the installation in your maintenance schedule so you can verify torque, alignment, and wear at the next inspection.
Check Alignment Before You Tighten the Rings
Before you tighten the rings, verify that the scope sits squarely in the mounts and that the reticle stays level under slight pressure. You should inspect both ends of the tube for even contact, then confirm the gaps on each ring half match.
If the body cants, reposition the shim before clamping. Use scope safety practices by keeping the action clear and the rifle stable while you work. Watch for tube twist as you snug each screw just enough to hold position.
Small shifts now prevent strain later and improve repeatable accuracy tips. Check eye relief and head position while you maintain alignment, because uneven placement can force corrections after tightening. Stop once the optic remains centered, level, and free of bind across the full ring interface.
Zero the Scope and Verify the Result
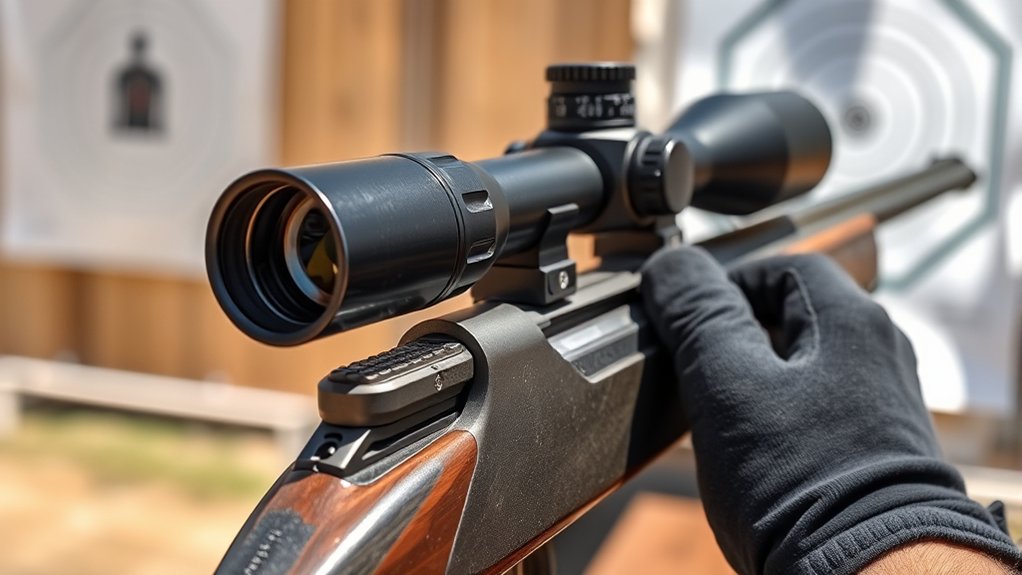
Now zero the rifle at your chosen distance and confirm that the impact point matches the sight picture. Fire a controlled group, measure the deviation, and adjust the turrets in small, documented increments.
Use shimming physics to understand how ring height and tube angle affect point of aim, and keep scope ergonomics in mind so you can reach the controls without changing your grip. Recheck after every adjustment until the group centers.
Let the barrel cool, then repeat with a second group to verify consistency. Lock the turret settings if your optic provides that option.
- Confidence
- Relief
- Precision
- Control
- Satisfaction
Common Rifle Scope Shimming Mistakes
What errors most often ruin a shim job? You usually stack too much material, which creates stress at the rings and can warp the tube. You may also place shims unevenly, causing cant and worsening base misalignment instead of correcting it.
Another common error is using soft, compressible material that shifts under recoil. Keep each shim flat, thin, and centered. Don’t trap debris between the base, shim, and receiver; one particle can tilt the mount enough to throw off alignment.
You should also tighten screws in sequence and to spec, because uneven torque can reintroduce distortion. Finally, verify that the scope still sits square after every adjustment. Careful inspection prevents shim mistakes that look minor but affect tracking, zero retention, and long-term reliability.
Fix Scope Alignment Without Shims
If your scope is still out of alignment, you can often correct it without shims by checking the base, rings, and receiver for fit and machining errors. You should lap rings lightly, torque screws to spec, and verify that the scope sits square under even pressure.
Check the base, rings, and receiver for fit; lap lightly, torque to spec, and ensure the scope sits square.
If the base rocks or the rings pinch, replace the faulty part instead of forcing alignment. Confirm bore-to-optic centering with a level and adjust windage only as a last resort.
Reduced stress on the tube, cleaner tracking and repeatability, less risk of tube damage, faster, more reliable setup, and greater confidence in zero can be achieved this way.
Avoid any unused topic idea or unrelated discussion; stay focused on mechanical correction. If parts remain out of spec, return them and install matched components.
Frequently Asked Questions
Can Shimming Damage My Rifle Scope?
Usually, no. If you shim correctly, you shouldn’t damage your scope. Poor shim durability or uneven installation can stress tube alignment, and recoil effects may worsen issues.
Use thin, clean shims and avoid overtightening.
How Much Shim Thickness Should I Use?
You should start with 0.002–0.010 inches, like fine-tuning a lens, then test zero. For how to questions, prioritize safety considerations, because over-shimming can stress the scope; add only enough to correct point of impact.
Are Shims Reusable After Removal?
Usually, you can’t rely on shims after removal; reuse risks metal deformation, loss of thickness, and poor repeatability.
For reliable mounting, inspect each shim closely and replace any that’s creased, bent, or compressed.
Does Shimming Affect Long-Range Accuracy?
Yes, if you shim well, you can preserve long range accuracy; if you shim poorly, you’ll induce cant, stress, and tracking errors. You should zero carefully, confirm repeatability, and test groups before trusting the setup.
Can I Shim a Scope With Coin Shims?
Yes, you can, but coin shims aren’t ideal. You’ll need correct shim selection and tool compatibility to match ring diameter, thickness, and finish.
Improvised shims can slip, scratch, or misalign your optic.
Conclusion
If you shim your rifle scope carefully, you can correct minor alignment issues without stressing the tube or changing the rifle. Remember that even a 1 MOA error can shift impact about 1 inch at 100 yards, which is enough to miss a small target.
Use shims only when needed, verify alignment first, and recheck zero after every adjustment. If the problem stays, replace the faulty base or rings instead of forcing a fix.
Properly shimming a rifle scope is an effective way to ensure accuracy and maintain the integrity of your equipment.