Like a well-tuned instrument, a rifle scope only performs when you set it with care. Dialing in a rifle scope properly ensures accuracy and consistency in every shot. You begin by securing the rifle, leveling the optic, and verifying the mounts before you bore sight.
Next, fire a tight three-shot group at a known distance. Measure the center of the group and adjust windage and elevation in precise clicks. Keep detailed notes and confirm your zero.
By following these steps, you’ll understand why the next adjustments matter and how to maintain precision over time.
Key Takeaways
- Gather a stable rest, torque driver, quality ammo, and a precise target before adjusting the scope.
- Bore sight the rifle first by aligning the reticle with the bore to reduce initial shot spread.
- Fire a controlled three-shot group, measure the group center, and adjust windage and elevation to center impact.
- Dial elevation and wind using your ballistic data, then recheck turret settings before every critical shot.
- Verify zero regularly, log corrections, and re-zero after ammunition, hardware, or environmental changes.
What Does It Mean to Dial In a Rifle Scope?
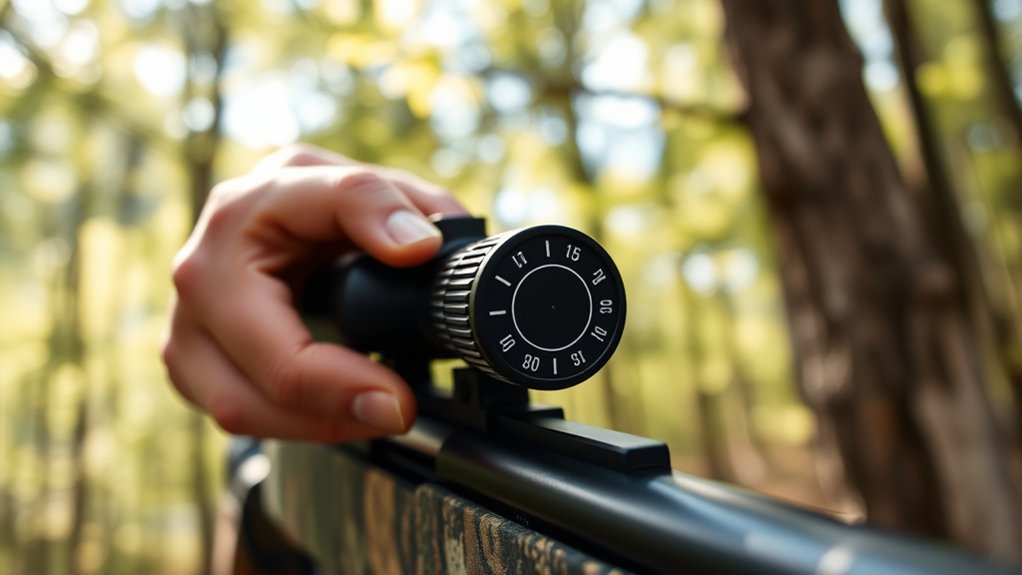
Dialing in a rifle scope means adjusting the scope’s elevation and windage turrets so your point of aim matches your point of impact at a known distance. You use those turret corrections to move the reticle’s zero until the rifle prints where you intend.
Bore sighting gets you close before live fire, but it doesn’t replace final zeroing. You confirm impact on paper, then make measured adjustments based on the scope’s click value and your observed error. Wind reading matters because lateral drift from crosswind can mimic a bad zero if you ignore conditions.
Once you establish a true zero, you can dial predictable corrections for distance changes with confidence, rather than guessing.
Gather Your Rifle Scope Dialing Gear
Before you start clicking turrets, gather the gear that lets you measure, verify, and record each adjustment. You’ll need a stable rifle rest, a torque driver, quality ammunition, a spotting tool, targets with a fine aiming point, and a notebook or data card.
Add a tape measure or rangefinder if you plan to confirm distance precisely. Keep a hex key set handy for scope ring and base checks, and inspect the optic for zeroed turrets and clear lens caps.
During gauge mounting, confirm ring spacing and screw tension. Check mount alignment so the scope sits square to the bore and the reticle stays level. Organize everything before you fire, because consistent setup reduces error and gives you clean, repeatable dialing data.
Bore Sight Your Rifle Scope

Bore sight your rifle scope by aligning the bore and reticle so your initial point of aim matches the rifle’s line of fire. You can do this with a bore sighter or by visually centering the target through the barrel and matching the crosshairs to that reference.
This step won’t zero the rifle, but it’ll reduce your initial shot spread and get you close to paper faster.
Align Bore And Reticle
Where should the reticle sit when you first sight in? Center it on the bore axis, then verify bore alignment through the barrel and reticle alignment through the optic.
Secure the rifle level in a rest, remove the bolt if your action allows it, and look through the bore at a fixed point. Without moving the rifle, adjust the scope so the reticle tracks that same point.
Keep the crosshair square to the receiver, and confirm the vertical stadia runs parallel with the bore. Tighten the rings evenly, checking that the scope doesn’t rotate.
This step doesn’t zero your rifle, but it puts your adjustments close enough to work efficiently. When both views agree, your first shots will land near center, and you can fine-tune from there.
Reduce Initial Shot Spread
With the bore and reticle aligned, you can now bore sight to shrink your initial shot spread and save ammunition. Secure the rifle in a steady rest, remove the bolt if your action allows, and look through the bore at a fixed target about 25 to 50 yards away.
Adjust windage and elevation so the reticle matches the bore image, then recheck after each correction. This procedure puts your first live rounds near point of impact, which lowers the number of cold-bore corrections you need.
Fewer adjustment shots mean less wear, reduced recoil exposure, and better scope durability. Bore sighting won’t replace a final zero, but it does narrow your starting group, speeds confirmation, and makes the entire sight-in process more efficient and controlled.
Zero Your Rifle Scope at Your Distance
Before you fine-tune any turret settings, you need to zero the rifle at the distance you’ll actually use most often. Set a target at that range, fire a controlled three-shot group, and measure the group’s center, not individual holes.
This step eliminates calibration misconceptions that come from assuming the scope is off when the rifle or ammunition is inconsistent. Confirm your rifle’s position is stable, because scope mounting mistakes can shift point of impact and distort your zero.
Keep your cheek weld, trigger press, and sight picture identical for each shot. If the group lands off center, record the offset and repeat until the group centers on the aiming point.
A correct zero establishes a reliable baseline, so every later adjustment has a known reference.
Adjust Windage and Elevation
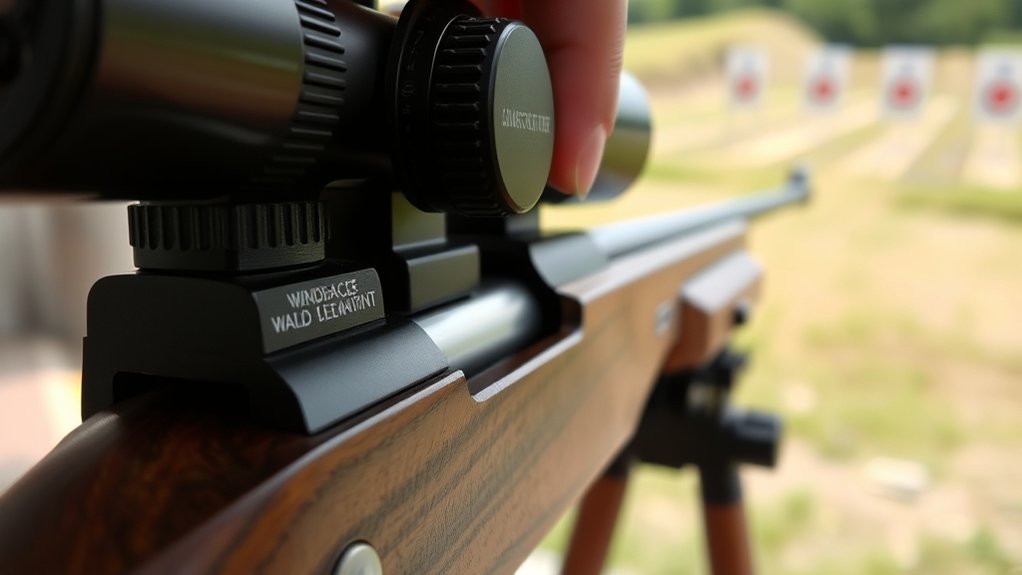
Once you’ve established a solid zero, you can correct any remaining horizontal and vertical error by adjusting windage and elevation. Use your scope’s turrets to move the reticle in measured increments, and track each click carefully.
Keep your rifle stable while you dial, because small input changes affect windage accuracy and elevation consistency.
- Turn the windage turret to shift impact left or right.
- Turn the elevation turret to shift impact up or down.
- Make small adjustments, then record the exact click count.
- Return to center only if your data shows a consistent bias.
Work methodically and avoid overcorrecting. You’re refining the point of aim so it matches the point of impact with repeatable precision.
Confirm Zero With Group Shooting
Shoot a controlled group to confirm your zero rather than trusting a single round, because one impact can mask shooter error, wind drift, or ammo variation. Fire three to five rounds from a stable position, using the same point of aim and trigger technique each time.
Shoot a controlled group to confirm your zero; one round can hide shooter error, wind, or ammo variation.
Measure the group center, not the widest outlier, and compare it to your intended zero. If the group shifts, inspect mounting torque, turret settings, and optic alignment before making another adjustment.
This process exposes failure modes that a lone shot can’t reveal, including inconsistent cheek weld and parallax error. Record the result in your maintenance routines so you can verify repeatability after transport, cleaning, or recoil-induced looseness.
Confirming zero this way gives you a defensible baseline.
Dial for Distance and Ballistics
To dial for distance, you first estimate the range as precisely as possible, then match that distance to your scope’s adjustment system. You apply ballistic drop compensation by converting the rifle and cartridge’s trajectory data into the correct elevation correction.
You then account for environmental adjustments, including wind, altitude, temperature, and air density, because they change the bullet’s flight path.
Range Estimation
How far is the target, and what does that mean for your elevation and wind holds? You start with distance estimation because range estimation drives every correction you make. Use a laser, reticle subtension, or a known reference, then confirm the number before you dial.
- Measure the distance precisely.
- Verify the target size or landmark.
- Cross-check angle and line of sight.
- Record the range in your data card.
At longer distances, small errors grow fast, so treat every yard as meaningful. If your estimate shifts, adjust your turret setting and recheck your position. Consistent range estimation keeps your scope inputs repeatable and your shot solution disciplined.
Ballistic Drop Compensation
Once you know the range, you can dial ballistic drop compensation to match the bullet’s trajectory at that distance. Use your scope’s elevation turret to move the reticle the required amount, then confirm the click value and total adjustment available.
Compare your load data with ballistic charts to determine the expected drop at the measured range. Translate that drop into turret clicks, accounting for your scope’s calibration, such as MOA or mils. Dial precisely, then recheck the setting before firing.
If your optic lacks enough elevation travel, you can use holdovers instead, but dialing is usually more repeatable. Record verified dope for each distance so you can return to known settings quickly. Reconfirm impact, then make small corrections until point of aim and point of impact coincide.
Environmental Adjustments
After you’ve set your basic elevation for distance, account for conditions that change bullet flight. You should verify wind, temperature, altitude, and humidity, then apply the correct hold or turret correction. Environmental effects alter air density and drag, so your ballistic solution must match the shot location, not the range card alone.
Use your rifle’s data and update it before every critical shot.
- Read wind speed and direction.
- Confirm temperature and density altitude.
- Check humidity and barometric pressure.
- Dial the corrected elevation or hold.
Keep device ergonomics in mind: turrets should turn cleanly, clicks must track precisely, and your support hand should stay stable while adjusting. Reconfirm impact, then refine the dope if conditions shift.
Keep Your Rifle Scope Zeroed
A rifle scope only works as intended if you keep the zero confirmed and unchanged. You should verify impact at your chosen distance before and after every range session. Secure mounts, level the optic, and mark turret positions so you can detect drift quickly.
Good dialing basics depend on repeatable zero, while scope ergonomics help you return to the same settings under stress.
| Check | Method | Result |
|---|---|---|
| Base screws | Torque to spec | No movement |
| Zero group | Fire 3 rounds | Centered POI |
| Turrets | Inspect marks | Unchanged |
If your point of impact shifts, diagnose ammunition, bedding, or ring slippage before you dial again. Keep a log, confirm corrections, and re-zero whenever you change loads, temperature, or hardware.
Frequently Asked Questions
How Often Should I Check My Scope Turret Clicks?
You should check your scope turret clicks every range session and after hard use, since scope drift and parallax error can mask issues. Verify each click tracks consistently, then confirm zero before hunting or competition.
Can I Dial a Scope Without a Ballistic Calculator?
Yes, you can dial a scope without a ballistic calculator, but you’ll need solid scope basics and careful zeroing. Use known distance holds, confirm turret clicks, and account for wind drift with range data.
What Scope Magnification Is Best for Dialing Long Range?
For dialing long range, you’ll usually want 10-18x; it balances target detail, scope calibration, and wind drift observation.
You can dial accurately without excessive image shake, while still reading impacts and mirage clearly.
Do Weather Changes Affect My Rifle Scope Adjustments?
Yes, weather changes can nudge your scope, like a compass in a shifting storm. You’ll see less weather stability and more wind drift, so recheck zero, note temperature, pressure, and humidity, then adjust methodically.
Should I Reset Turrets After Zeroing My Rifle?
Yes, you should reset turrets after zeroing so your reference point starts at zero. Use a ballistic calculator alternative to track holds, and keep resetting turrets only if your scope’s design allows reliable indexing.
Conclusion
So, you’ve done the glamorous work of aligning glass and steel: you mounted it straight, boresighted with due humility, and nudged windage and elevation like a responsible adult.
Now confirm the zero, because trust is for poets, not turrets. Log your clicks, revisit your group, and recheck whenever ammo, weather, or mood changes.
If the rifle prints where you aimed, congratulations—you’ve achieved the thrilling, technical miracle of making the sight tell the truth. This is the essential step to successfully dial in a rifle scope.