To zero your rifle scope, you need a stable setup, a clear target, and a distance that matches how you plan to shoot. Zeroing your rifle scope starts with checking that the rifle and optic are secure. This ensures accuracy and consistency in your adjustments.
Next, rough in the bore and reticle so your first shots land close enough to measure. Once you fire a tight group, the real adjustment begins. At this stage, the details matter more than you might expect.
Key Takeaways
- Gather a rifle, matching ammunition, stable rests, tools, and a clean scope before starting.
- Choose one zero distance, such as 50 or 100 yards, based on your typical shooting needs.
- Bore sight the rifle by aligning the reticle with a fixed point, then check for loose mounts or cant.
- Fire a careful three-round group at a clear zero target with consistent aim and trigger control.
- Adjust elevation and windage using scope values, then re-fire groups until impacts stay centered.
Gather Your Scope-Zeroing Gear
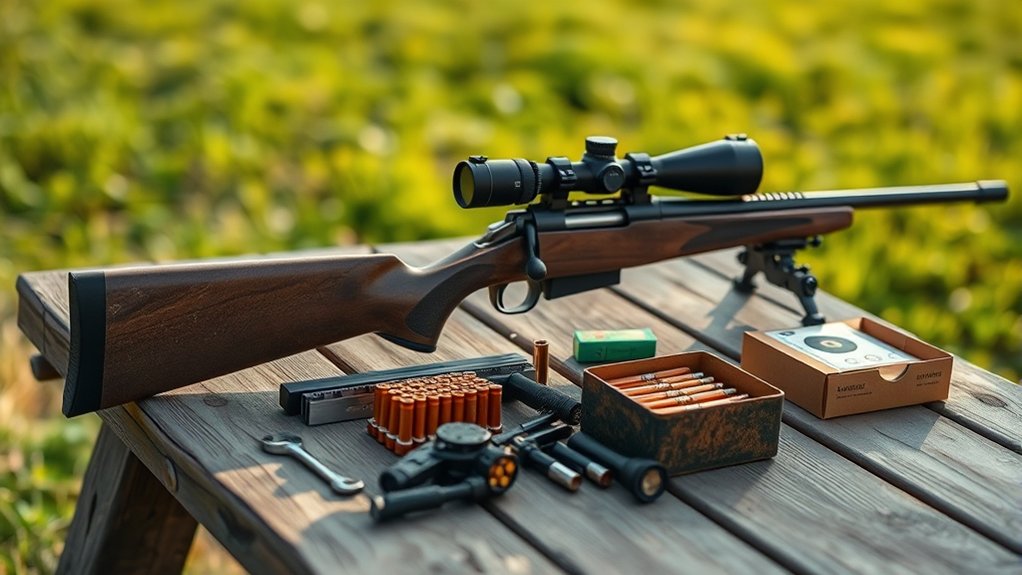
Before you zero your rifle scope, gather the tools you’ll need so you can work efficiently and make accurate adjustments. You’ll need the rifle, mounted scope, matching ammunition, a stable bench, front and rear rests, a target with a clear aiming point, a bore sighter if you use one, and the correct wrench or driver for turret caps and mount screws.
Bring a cleaning cloth for lenses and a small notebook to record impacts and corrections. Inspect all hardware for tightness, and confirm the optic is clean and undamaged; good scope maintenance reduces error. Wear eye and ear protection and verify your range’s safety rules.
Careful preparation supports hunting ethics because precise gear setup helps you make humane shots and avoid waste.
Choose Your Zero Distance
Your zero distance should match how and where you’ll use the rifle, because the right choice determines how the bullet’s point of impact lines up with your point of aim at realistic ranges. Pick a distance that reflects your typical shooting scenario: 50 yards for close-range use, 100 yards for general-purpose rifles, or another known range if your data supports it.
Use one distance and commit to it; switching targets mid-process adds error. Consider cartridge trajectory, optic magnification, and expected engagement range, then select the zero that minimizes holdover and hold-under where you actually shoot.
Don’t let an unrelated topic or irrelevant discussion distract you from the ballistic goal. A precise zero starts with a deliberate distance, not guesswork, because consistency here simplifies every adjustment you make afterward.
Bore Sight Your Rifle Scope
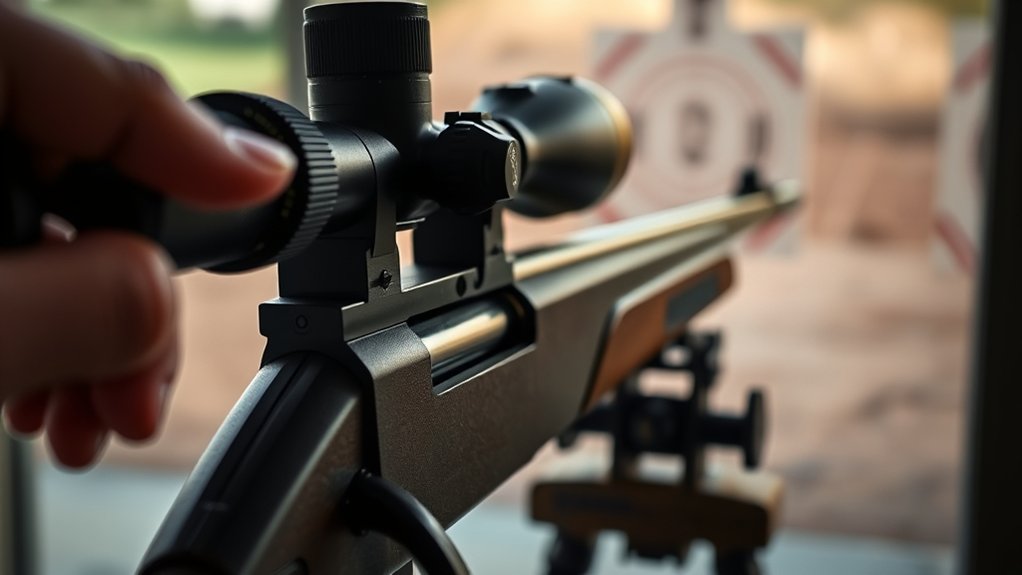
Now align the scope to the bore so your first shots land on paper. Secure the rifle on bags or a rest, then remove the bolt if your action allows it. Look through the bore at a fixed point and adjust the scope until the reticle matches that point.
If you can’t see through the bore, use a laser or collimator, but treat it as a rough index, not a final zero. Bore sighting misconceptions often assume this step replaces live fire; it doesn’t. It only reduces adjustment time.
Check for scope mounting errors such as loose rings, uneven torque, or cant before you trust the alignment. Keep the rifle steady, make small corrections, and confirm the reticle tracks the bore consistently from the same position.
Set Up a Rifle Scope Zero Target
Set a clear zero target at a known distance so you can measure scope adjustments accurately. Place it on a rigid backer at eye level, and confirm the range distance with a tape, laser, or marked lane.
Set a clear zero target at a known distance to measure scope adjustments accurately.
Use a high-contrast aiming point with a defined center and grid lines or measurement marks so you can read impact offset precisely. Align the target square to your firing line to avoid angular error.
Secure it so wind won’t shift it during setup. Before you continue, apply practice safety: verify the rifle is unloaded, the muzzle stays pointed in a safe direction, and the area behind the target is clear.
Keep your firing position stable, and check that your optic, mounts, and surrounding field maintenance are in proper condition.
Fire Your First Group
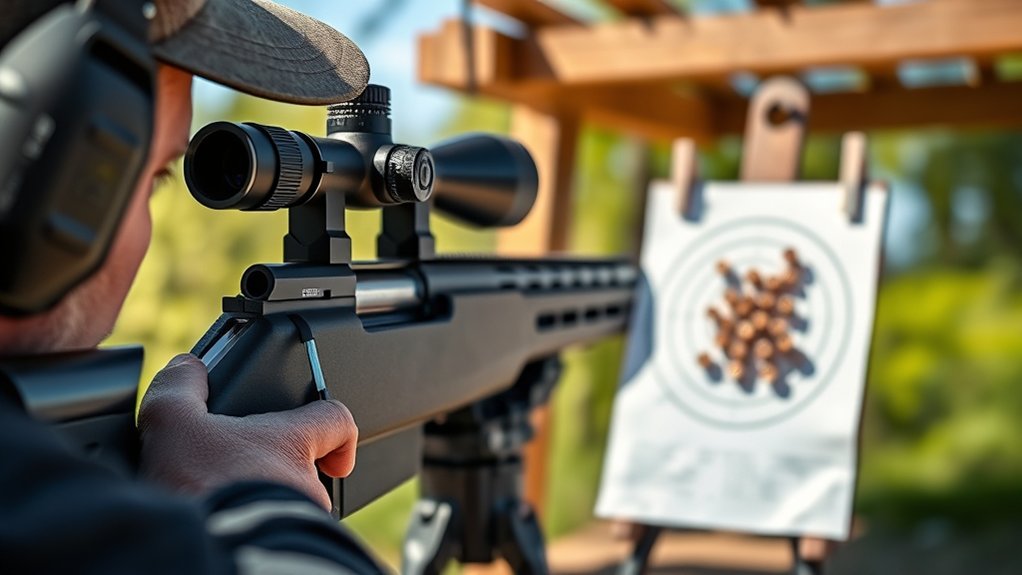
Set your target at the chosen zero distance and confirm your rifle is stable on the rest. Fire a controlled three-round group, keeping your aim point consistent on each shot.
Measure the point of impact against the target center to determine how far your scope needs adjustment.
Set Up A Target
Before you fire your first group, place a clearly visible target at a known distance. 25 yards is a common starting point. Make sure it’s centered and square to your shooting position.
Use a target with a distinct aiming point so you can see impact shifts easily. Mark the center with a bold, high-contrast bullseye, and verify the target face is level to prevent vertical error.
If possible, shoot in calm conditions, but note any crosswind because windage considerations can affect initial alignment. Keep the target rigid and unmoving on a stable backer.
Check that your optic’s magnification and focus let you resolve the aiming point clearly. These calibration techniques help you establish a clean reference before you evaluate where the rifle prints.
Fire Three Round Group
Now, fire three carefully aimed shots at the center of the target, using the same sight picture and trigger press each time. Keep your position solid, manage recoil, and let the rifle settle before you reset your breathing.
Don’t chase individual holes; you’re establishing a three round group that reflects your point of impact under consistent conditions. Maintain the same cheek weld, shoulder pressure, and grip for each shot so the group gives you useful data.
If the rifle shifts between shots, pause and correct your setup before continuing. Ignore unrelated topic distractions and any two word ideas that don’t affect shot consistency.
When you’ve fired all three rounds, keep the firearm pointed safely downrange and remain ready for the next step.
Measure Point Of Impact
Inspect the group and measure the center of the three impacts relative to the target’s aim point. Use a ruler or calipers to find the horizontal and vertical offset, then record the deviation in inches or MOA.
If you used bore sighting, this first group should land close to center; small errors are normal. Determine whether the group sits high, low, left, or right, and note the exact distance from the bull.
Keep your rifle stable and avoid changing your cheek weld between shots. Do not adjust the scope yet unless you’ve confirmed the group is consistent.
If the center is left or right, plan a windage adjustment. If it’s above or below, prepare the elevation correction for the next step.
Adjust the Scope Turrets
Start by dialing the turrets to center the reticle on your shot group, then make small, deliberate adjustments based on where the bullets struck. Use the elevation turret to move impacts up or down, and the windage turret to move them left or right.
Dial the turrets to center your group, then make careful elevation and windage adjustments from there.
Match each click to the scope’s value, usually indicated in MOA or MIL, so you can correct precisely without overtraveling. Keep a steady count of every adjustment and note the direction you turned each turret.
If your scope has capped turrets, reinstall the caps after setting them to protect the dials during scope maintenance. Ignore minor wind drift unless conditions changed during the string.
Work methodically, and don’t chase each hole individually; correct the center of the group instead.
Confirm and Fine-Tune Your Zero
Fire another careful group at your chosen zero distance to confirm the scope is tracking where you expect. Measure the group center, not just the best shot, and compare it to your point of aim. If the impact is still off, make small turret corrections and fire again.
| Group | Offset | Action |
|---|---|---|
| Tight | 0.2 MOA low | Click up one increment |
| Left | 0.3 MOA | Click right one increment |
| Centered | 0.0 MOA | Record zero |
Watch wind flags between shots so gusts don’t skew your read. Keep the rifle stable, verify torque on rings, and inspect scope maintenance items like lens caps and mounts. When the group stays centered through two consecutive strings, lock in your data and confirm your zero distance.
Frequently Asked Questions
How Often Should I Re-Zero My Rifle Scope?
You should re-zero whenever your rifle, scope maintenance, ammo consistency, or mounting changes, and after hard recoil, impact, or temperature extremes.
Check zero before each hunt or range session to stay precise and reliable.
Can Weather Affect My Scope’s Zero?
Yes, weather can affect your scope’s zero. You’ll see weather impact through temperature, humidity, and pressure changes, while mounting stress can alter zeroing stability.
Check zero after extreme conditions, and confirm your rifle’s point of impact.
What’s the Difference Between a Zero and a Sight-In?
You sight in to align your scope and rifle so point of aim matches point of impact at a chosen distance. Zero refers to that finalized setting. That’s how zero differs, and sight in purpose matters.
Should I Zero With My Hunting Ammunition?
Yes, you should zero with your hunting ammunition; it reflects zeroing considerations and hunting ammo compatibility. Use the exact load you’ll hunt with, because different bullet weights, velocities, and point-of-impact shifts can change your zero.
How Do I Know if My Scope Is Damaged?
If your shots shift more than 1 MOA after secure mounting, you may have scope damage. Check for loose turrets, fogging, cracks, or erratic zero consistency. If adjustments don’t track, you’ll need inspection or replacement.
Conclusion
With your gear set, distance chosen, and first group on paper, you’re ready to lock in a dependable zero. Make small turret corrections, then fire again to confirm your point of impact meets your point of aim. Repeat until the group centers cleanly.
Like Odysseus steering by the stars, you’re using measured adjustments to reach the right mark. Once it’s true, record your settings and keep your rifle and scope tight for the next range session.
Following these steps will ensure you effectively zero a rifle scope for consistent accuracy.