A crosshair settling over a distant target only matters if your rifle scope is set right. You need a secure mount, correct eye relief, and a level optic before you touch windage or elevation.
Start with a bore sight, then fire a tight group and measure the offset. Small, exact clicks matter here, and one wrong adjustment can leave your zero chasing itself.
Key Takeaways
- Verify the rifle is unloaded, then mount the scope securely with proper eye relief, cheek weld, and level reticle.
- Bore sight the rifle first to align the reticle with the bore and get close to mechanical zero.
- Shoot a careful group at your chosen zero distance, then measure the offset from point of aim.
- Adjust windage and elevation turrets in small click increments, using the same ammunition and recording each change.
- Refire groups after each adjustment, and inspect the scope if zero still won’t hold or tracking seems inconsistent.
What You Need Before Adjusting a Rifle Scope
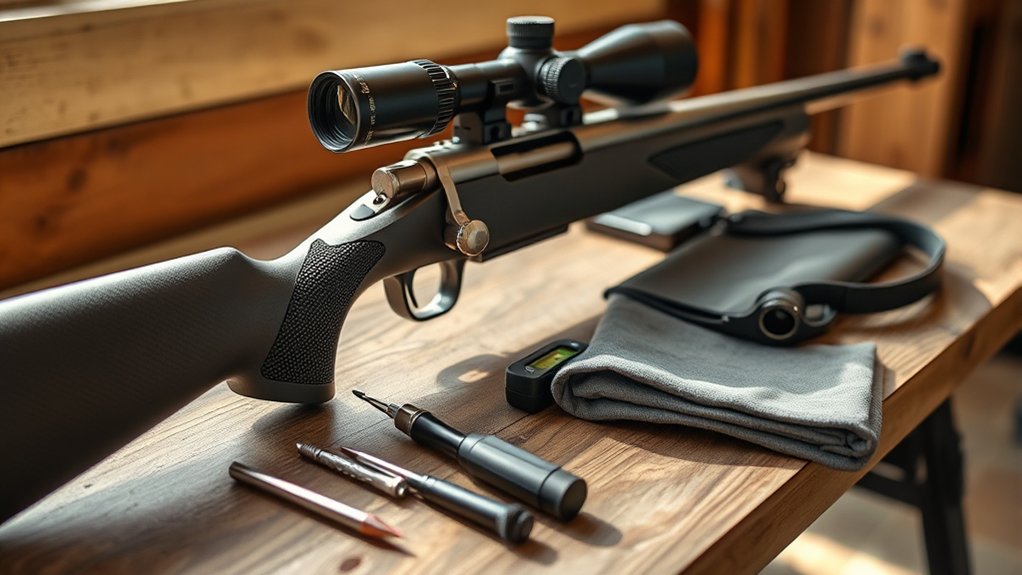
Before you adjust a rifle scope, you need a stable rifle rest, the correct screwdriver or turret tool, your rifle’s ammunition, a clean target at a measured distance, and a clear understanding of your scope’s windage and elevation controls.
Before adjusting your scope, gather the right tools, ammunition, and a steady rest for accurate, repeatable zeroing.
Verify the rifle is unloaded while you inspect the scope mounting for tightness and alignment. Confirm eye relief lets you see a full sight picture without straining. Use the same ammunition you’ll shoot later, because load changes shift impact.
Set a target at a known distance so you can measure adjustments accurately. Keep a note card, pen, and caliper handy for recording clicks and group movement. A consistent rest and a steady position reduce error.
With these items ready, you can make precise, repeatable adjustments and avoid chasing false zeroes.
Mount the Scope at the Right Height
With the rifle unloaded and your tools and target ready, set the scope at a height that lets you obtain a full sight picture without lifting your head off the stock or stretching your neck. Choose rings and bases that match the optic’s objective bell and your rifle’s receiver.
Correct mounting height keeps the scope low enough for a solid cheek weld, but high enough to clear the barrel and action.
- Place the scope in the rings.
- Check that eye relief aligns with your natural shoulder position.
- Confirm the objective clears the barrel, handguard, and bolt handle.
Tighten the hardware evenly so the tube stays centered and secure. If the optic sits too high, you’ll lose consistency. If it sits too low, it may contact the rifle and shift under recoil.
Set Eye Relief and Level the Scope
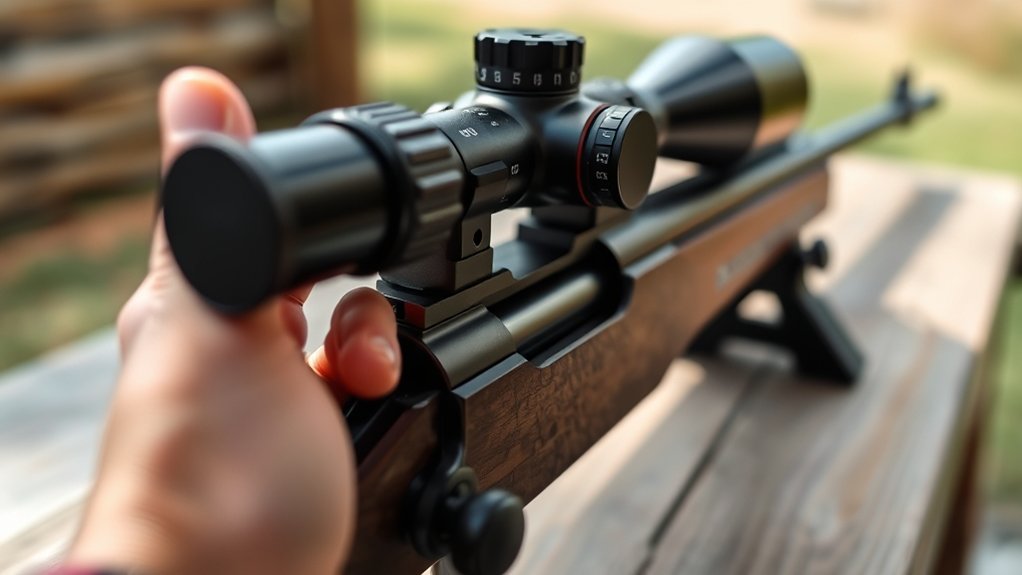
Position the rifle so you can see a full, clear sight picture at your normal shooting stance, then adjust the scope forward or back until eye relief is correct. Keep the reticle centered and rotate the scope until the crosshairs are perfectly level with the rifle’s action or a reliable leveling tool.
Tighten the rings evenly, and recheck both eye relief and level before you move on.
Eye Relief Setup
How far should your eye sit from the scope? Set the rifle at your normal shooting position, then slide the optic until you see a full, bright image with no shadowing. This is your eye relief.
Keep the scope height consistent so your cheek weld stays stable and the sight picture doesn’t shift under recoil.
- Mount the scope loosely and shoulder the rifle.
- Move the optic forward or back until the image fills cleanly.
- Tighten the rings evenly without changing position.
Check eye relief again from prone and standing. If you can’t see the full field quickly, adjust the mount before torqueing to spec. That gives you a repeatable, safe setup and prepares the rifle for precise zeroing.
Scope Leveling Tips
Once you’ve set eye relief, level the scope so the reticle tracks true and your point of impact stays consistent. Secure the rifle in a vise or bags, then align the action level with the receiver. Rotate the scope in the rings until the vertical crosshair matches a plumb line or a verified level.
Tighten ring screws gradually in an X pattern, checking alignment after each pass. During scope mounting, keep the optic centered and avoid overtorque, which can cant the tube and shift zero. After tightening, confirm your head position doesn’t introduce reticle parallax at the intended range.
Recheck level with the rifle shouldered, because natural body angle can mask cant. If the reticle drifts, reset the rings and repeat before live fire.
Bore Sight the Rifle First
Before you fine-tune the scope at the range, bore sight the rifle so you can get the reticle aligned with the bore and save time on initial sight-in. After scope mounting, confirm the action is secure and the rifle is unloaded.
Before fine-tuning at the range, bore sight to align the reticle with the bore and speed initial sight-in.
Use bore sighting to place the bore on a distant point, then adjust the scope until the reticle matches that point.
- Clamp the rifle steady.
- Remove the bolt or open the action.
- Center the bore on a target, then match the reticle.
This gives you a close mechanical zero and reduces wasted shots. Keep your head position consistent, and don’t chase perfect precision at this stage. Bore sighting only gets you on paper; you’ll still need live-fire confirmation.
Adjust Windage
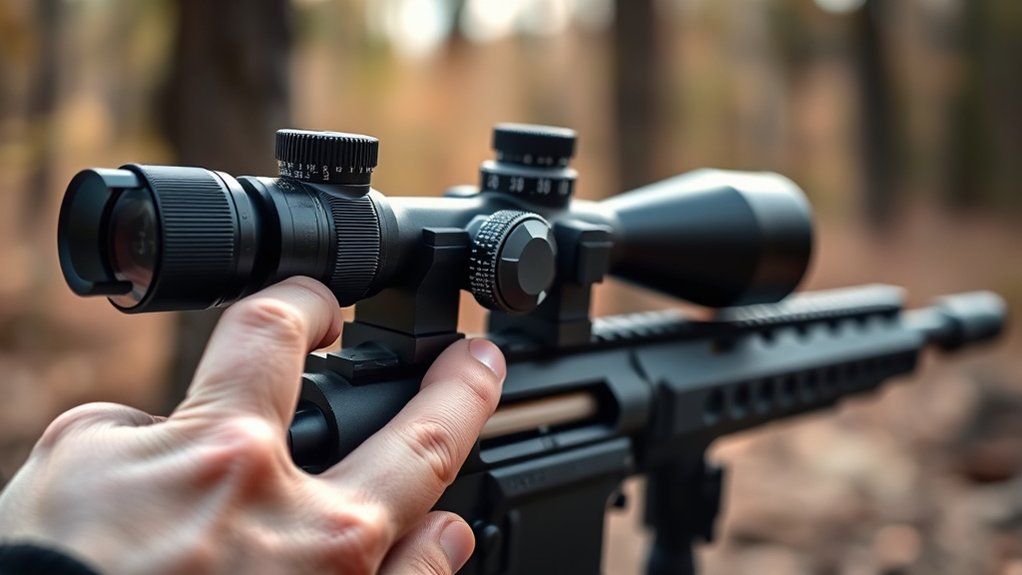
To adjust windage, use the scope’s horizontal turret to move the point of impact left or right. Turn the turret in small increments and watch how each click shifts the group across the target.
Make only minor corrections, since even slight changes can move your zero noticeably.
Windage Turret Basics
Need to move the point of impact left or right? Use the windage turret to make precise lateral corrections. On most scopes, you’ll turn the turret in the direction you want the impact to move, but always confirm the arrow markings on your optic; some models differ.
Keep your rifle steady and count clicks carefully.
- Identify the windage knob and its click value.
- Make a small adjustment, then retest on target.
- Record each setting so you can return to zero fast.
Focus on two word ideas: repeatable clicks and turret indexing. Ignore irrelevant subtopic chatter; it won’t help you dial windage efficiently. Small, measured changes keep your sight picture consistent and your adjustments predictable.
Horizontal Impact Shift
When your shots land left or right of the point of aim, correct that horizontal impact shift with the windage turret. Confirm the rifle is stable, then observe where the group sits relative to the aiming point.
You adjust windage to move impact horizontally without changing elevation. If the optic has scope parallax, set it first so your eye position doesn’t distort the point of impact. Read the turret markings and rotate in the direction the manufacturer specifies; the reticle shifts, not the target.
Under night vision, use the same process, but verify the image stays clear and the reticle remains visible. Keep your cheek weld consistent, because inconsistent head position can mimic windage error and mislead your adjustment.
Making Small Corrections
How far should you move the windage turret? Start with a single click, then confirm the shot group before you add more. You adjust windage to move impact left or right without changing elevation.
Keep your rifle stable, focus on a consistent cheek weld, and avoid chasing errors from making parallax. Use this quick process:
- Fire a tight group at your zero distance.
- Dial one click in the needed direction.
- Fire again and compare impact shift.
Inspect the scope’s turrets and maintain coating durability by handling them cleanly and avoiding unnecessary abrasion. Make small corrections only; large adjustments can hide shooter error.
If the group still drifts, recheck mount alignment, ammunition consistency, and parallax settings before you continue.
Adjust Elevation
To change elevation, turn the top turret in the direction marked “up” or “down” so you can move the point of impact vertically on the target. Each click changes angle in a measured increment, so count the adjustment carefully and keep a consistent reference.
Use the scope’s marked scale, and verify that the scope materials and manufacturing tolerances support repeatable tracking; poor construction can introduce error. If your shots are high, dial down; if they’re low, dial up.
Make adjustments in small steps, then fire again and evaluate the vertical shift only. Keep the rifle stable while you turn the turret, and avoid overcorrecting. Record each setting so you can return to it later.
Zero the Scope at Your Chosen Distance
Pick a zero distance that matches your intended use, then fire a careful group at that range and measure the offset from point of aim. You’ll use that measurement to set the scope’s zero precisely. Keep the rifle stable, confirm reticle clarity, and note any shift in elevation and windage.
After each correction, let the barrel cool and verify the group again.
- Confirm your target distance and aim point.
- Track the group center against the reticle.
- Make controlled adjustments and recheck impact.
Use clean, repeatable inputs so scope maintenance stays simple and consistent. When the group lands where you want it, your scope is zeroed for that distance and ready for dependable field use.
Fine-Tune Your Zero After Grouping
Once your initial group is on paper, you can fine-tune the zero by making small, deliberate elevation and windage corrections based on the group’s center, not a single shot. Measure the offset from point of aim, then adjust the turrets in the proper direction using the scope’s click value.
After each change, fire another controlled group and compare the new center to your reference point. Keep your data interpretation disciplined: track distance, impact shift, and adjustment count so you can predict the next correction accurately.
Let the barrel cool between groups to limit heat-related drift. Verify that your rifle remains consistent, and handle field maintenance before confirming the final zero. When the average point of impact matches your aim, lock in your settings and record them.
Fix Scope Problems That Ruin Zero
If your zero won’t hold after careful group adjustments, the scope itself may be the problem. Check for loose ring screws, bent turrets, and wandering erector springs; each can shift impact between shots. Verify optics compatibility with the rifle’s recoil and mounting system, because mismatched bases or weak rings let the tube move under load. Use this quick sequence:
- Inspect mounts and re-torque to spec.
- Test tracking with a box drill.
- Replace the scope if adjustments drift.
During scope maintenance, confirm lenses stay clear, seals stay intact, and turrets click consistently. If zero still walks, isolate the optic by swapping it onto another rifle. Persistent shift means internal failure, not shooter error, so stop chasing settings and replace the scope.
Frequently Asked Questions
How Often Should I Recheck My Scope Zero?
You should recheck your scope zero after every range session, any impact, and seasonally. Your adjustment cadence should reflect maintenance considerations, because recoil, temperature, and handling can shift zero unexpectedly.
Does Ammunition Type Affect My Scope Settings?
Yes, ammunition type affects your scope settings because different bullet weights, velocities, and trajectories change point of impact. You’ll need to recheck zero when you switch loads, especially if accuracy matters.
Can Weather Change My Rifle Scope Adjustments?
Yes, weather can shift your rifle scope adjustments. You’ll notice weather variance affecting bullet flight, especially in hunting conditions.
Temperature, humidity, and altitude change density, so you should confirm zero before shooting.
What Magnification Is Best for Zeroing?
Use the lowest practical magnification, usually 4x to 6x, for zeroing; you’ll see errors clearly and reduce wobble.
Your zeroing philosophy and maintenance schedule should prioritize consistency, not maximum zoom, for repeatable impact.
Should I Use a Torque Wrench on Scope Rings?
Yes, you should use a torque wrench on scope rings; it helps you apply the manufacturer’s specified clamping force, avoid over-tightening, and keep your scope secure, aligned, and stress-free.
Conclusion
In summary, you can keep your scope dialed in by following a careful, repeatable process. Start with secure mounting, proper eye relief, and a clean bore sight, then make small windage and elevation adjustments after each measured group.
If your zero seems to drift, it’s usually a gentle reminder to recheck mounting, alignment, and consistency. With disciplined setup and live-fire confirmation, you’ll leave less to chance and more to precision.
By following these steps for how to adjust a rifle scope, you ensure your shots remain accurate and your scope stays properly zeroed.