A rifle scope can be perfectly mounted and still miss your point of aim if you skip the zeroing process.
Sight in a rifle scope by starting with a distance that matches your likely shots.
Gather the right gear, mount and level the optic, and boresight before firing a controlled group.
From there, adjust windage and elevation in measured clicks.
Confirm the result, and solve any errors that keep the reticle from tracking true.
This ensures your scope is accurately sighted for reliable shooting.
Key Takeaways
- Choose the zero distance that matches your cartridge, optic, and real shooting needs, then confirm it on a measured range.
- Gather a stable rest, correct ammunition, targets, tools, and a notebook before beginning sight-in.
- Mount the scope securely, level the reticle, set eye relief, and boresight the rifle before firing.
- Fire a slow 3 to 5 shot group without adjusting between shots, then dial windage and elevation to move impacts to aim.
- Confirm the zero with another group, check parallax, and troubleshoot mount or tracking issues if impacts are still off.
Choose Your Zeroing Distance
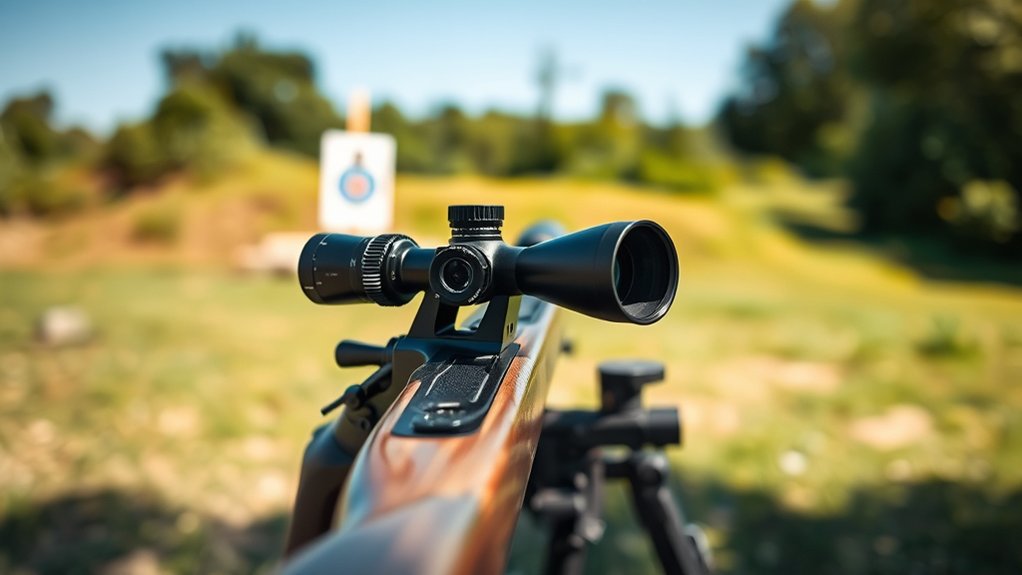
How far do you plan to shoot? Choose a zero that matches your intended distance, cartridge, and optic. If you expect close, fast shots, a 100-yard zero usually gives a simple point of aim/point of impact relationship.
Choose a zero that matches your distance, cartridge, and optic for simple, reliable point-of-impact control.
For longer use, you might select 200 or 300 yards to better manage trajectory. Historical warfare shows that riflemen often adjusted zero for battle ranges, while hunting ethics demand you know your projectile’s path and limit uncertain shots.
Check your bullet’s drop chart, then decide where the rifle should strike dead center. Confirm that distance on a measured range, not by guesswork. Your zero should reflect realistic field conditions, not idealized assumptions.
Set it once you’ve matched trajectory, target size, and safe, responsible shooting limits.
Gather Your Sighting-In Gear
Before you begin, gather the gear you’ll need to sight in the rifle efficiently and safely: the rifle, optic, mounted rings or scope base, the correct ammunition, a stable rest or bipod, a rear bag, targets, a spotting scope or binoculars, a torque driver, and the tools required to adjust your optic. Verify each item before you leave home, and include optic cleaning supplies so you can clear the lens surfaces if dust or fingerprints appear.
Use one ammunition lot for consistency. Bring a notebook to record impact shifts, click values, and wind calls. Keep spare targets on hand for follow-up practice drills.
Rifle and optic on the bench
Ammunition boxes stacked beside a rear bag
Paper targets downrange under bright light
Mount and Level Your Scope
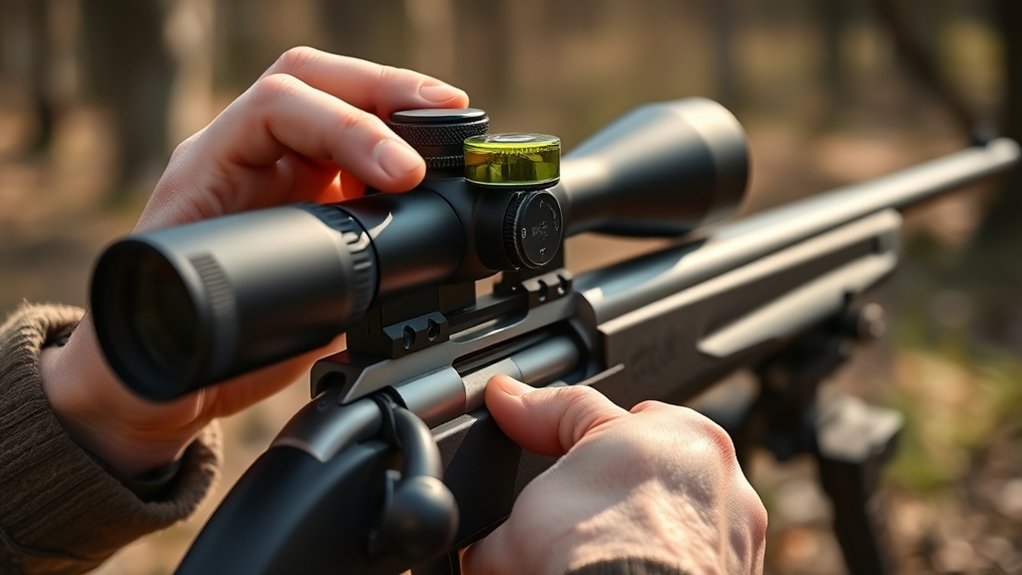
Start by placing the scope in the rings or mount and setting the rifle in a stable rest so it stays motionless while you work. Align the ocular and objective housings, then set eye relief before tightening any hardware.
Use a bubble level or leveling kit to keep the crosshairs plumb while you perform scope mounting. Rotate the scope until the vertical reticle matches a true vertical reference, then snug the ring screws evenly in an X pattern.
| Checkpoint | Result |
|---|---|
| Eye relief | Clear sight picture |
| Reticle alignment | True vertical |
| Ring tension | Even pressure |
| Leveling rifle | Stable orientation |
| Final torque | Secure fit |
Recheck alignment after each pass. Small errors now can make later adjustments frustrating and imprecise.
Boresight the Rifle
With the scope mounted and leveled, you can boresight the rifle to bring the reticle close to the bore’s centerline before live fire. Remove the bolt if your action allows, then secure the rifle so it can’t shift.
Use your chosen boresight setup, whether a laser, collimator, or visual bore view, and center the reticle on the reference point. Check optical alignment through the scope and make small turret adjustments until the aiming point and bore reference nearly coincide.
This step won’t replace zeroing, but it reduces wasted shots and speeds refinement.
- A steady rifle in a vise
- A centered reticle on a grid
- A bore and optic that track together
Fire Your First Group
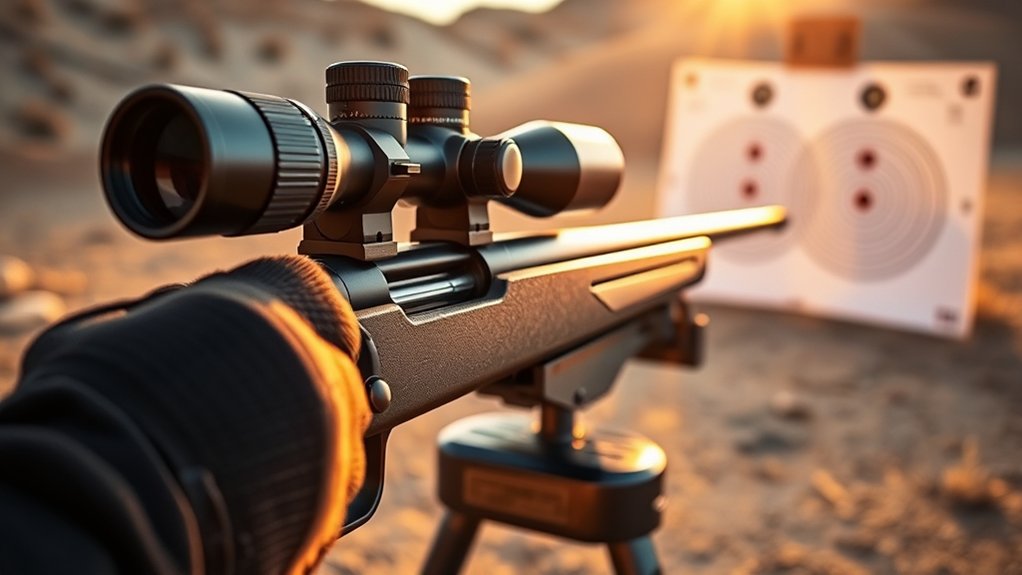
Now fire a slow, deliberate first group to confirm the rifle’s point of impact. Use a stable bench, solid front and rear support, and the same shooting position for every shot. Focus on consistent cheek weld, trigger press, and follow-through so you can isolate shooter error from equipment variation.
Keep your target selection simple: choose a high-contrast aiming point that lets you see each hold clearly at your chosen distance. Fire three to five shots without adjusting the scope between rounds. Then inspect the group for size, shape, and consistency.
If the shots cluster, you’ve established a reliable baseline. If they scatter, review your technique experimentation carefully and repeat the group with the same setup. Record what you observe before making any sight corrections.
Dial In Windage and Elevation
Once you’ve confirmed your initial group, use the scope turrets to move point of impact toward point of aim. Apply windage basics by turning the horizontal turret in the direction you want the group to move. Then follow the elevation procedure with the vertical turret, making small, deliberate adjustments.
Count clicks, and note your scope’s click value so you can track every change precisely.
Picture the group sliding left across the target grid. Picture the impacts rising into the bull’s-eye. Picture each turret click marking a controlled correction.
Keep your firing position consistent, and adjust only one axis at a time when possible. After each change, settle the rifle, reacquire the target, and fire another measured group.
This method keeps the sight-in process controlled, repeatable, and mechanically sound.
Confirm Your Zero
Does your group stay centered after a few careful strings of fire? If it does, confirm your zero with a final three- to five-shot group at the same distance and from the same rest position. Keep your cheek weld, trigger press, and sight picture identical to the earlier strings.
Measure the center of the group against point of aim, then verify both windage and elevation again if needed. If you changed magnification, recheck for parallax error before firing.
Let the barrel cool enough to avoid heat-induced accuracy drift, then fire once more to confirm the point of impact hasn’t moved. Record the confirmed zero, ammunition type, distance, and scope settings in your notes so you can return to this setup consistently in future sessions.
Troubleshoot Common Zeroing Problems
If your zero shifts, first check mounting stability and make sure every ring, base, and fastener is fully torqued. Then verify windage and elevation settings on the scope and confirm they’re tracking in the correct direction.
Recheck both adjustments after each correction so you can isolate the source of the error.
Check Mounting Stability
Before you chase your zero, check that the scope and base stay solid under recoil. Inspect every fastener and ring for movement, then check mounting torque against the maker’s spec. If you spot even slight play, resolve it before firing again; stability issues can shift impact unpredictably.
Use a torque driver, confirm the base sits flat, and verify the rings grip the tube evenly without crushing it.
- Look for shiny witness marks around screws.
- Watch for scope creep after each shot.
- Press on the optic gently to feel flex.
If the rifle still groups erratically after you secure the mount, recheck alignment and retighten in sequence. A rigid setup gives you a reliable reference for the next step.
Verify Windage And Elevation
With the mount secure, verify that your windage and elevation settings match the rifle’s point of impact. Fire a careful three-shot group at your zero distance, then measure the group center, not individual holes.
If the impacts strike left or right, adjust windage in the needed direction and recheck windage consistency after each change. If shots print high or low, correct elevation in small, equal clicks and watch for elevation drift between groups.
Keep the rifle level, maintain a consistent cheek weld, and use the same ammo lot for every confirmation string. After each adjustment, fire again and compare the new group to your aim point.
Repeat until the center of impact coincides with point of aim, then confirm with one final group.
Frequently Asked Questions
What Reticle Style Works Best for Hunting?
For hunting, you’ll usually prefer a simple duplex reticle; it’s fast, uncluttered, and easy to center in low light.
Your reticle preference should match hunting scenarios, from close brush to open-country shots.
How Often Should I Recheck My Scope Mounts?
Recheck your scope mounts after every range session, any hard impact, and before hunting season. You should also verify them if recoil consistency changes or mount rigidity seems off. Torque them to spec and inspect screws regularly.
Can Temperature Affect My Rifle Zero?
Yes, temperature can shift your rifle zero by changing ammo velocity, barrel harmonics, and air density. You’ll also see different wind drift in cold, dense air.
Recheck zero across temperatures and note point-of-impact changes.
Is Parallax Adjustment Necessary for My Rifle?
You usually don’t need parallax adjustment unless you shoot at varying distances or use high magnification.
Check scope mounts first, then set parallax only if your reticle shifts against the target when you move your eye.
What Ammo Is Best for Long-Range Accuracy?
You’ll usually get best long-range accuracy from match-grade ammo; about 1 MOA can mean 10 inches at 1,000 yards. Test loads in your rifle, then match ammo to barrel harmonics for tighter groups.
Conclusion
So, does a scope “zero itself” after a few shots? It doesn’t. You do the work by choosing the right distance, mounting the optic correctly, and making measured windage and elevation corrections.
If your first group is off, that’s normal; treat it as data, not failure. Keep the rifle stable, record every click, and confirm with a final group.
When the reticle and bore agree, you’ve got a dependable zero. This is the key to successfully sighting in a rifle scope.