To disassemble your AR-15, first verify it’s unloaded by removing the magazine and visually checking the chamber.
Press the magazine release and pull the charging handle back to clear the chamber completely.
Next, push out the rear takedown pin and then the front pivot pin to separate the upper and lower receivers.
Remove the bolt carrier group and charging handle carefully.
For thorough maintenance, you’ll want to clean and inspect all parts before reassembly.
Follow these steps closely to maintain safety and reliability, and explore further to master the full process.
Key Takeaways
- Ensure the AR-15 is unloaded, chamber clear, and safety engaged before starting disassembly.
- Push out rear takedown pin and front pivot pin to separate the upper and lower receivers.
- Remove bolt carrier group by pulling it out, then extract firing pin, cam pin, and bolt for cleaning.
- Pull charging handle rearward and lift it out after removing the bolt carrier group.
- Reassemble by aligning receivers, reinserting pins, reinstalling bolt carrier group, and conducting a function check.
Prepare Your AR-15 Safely Before Disassembly
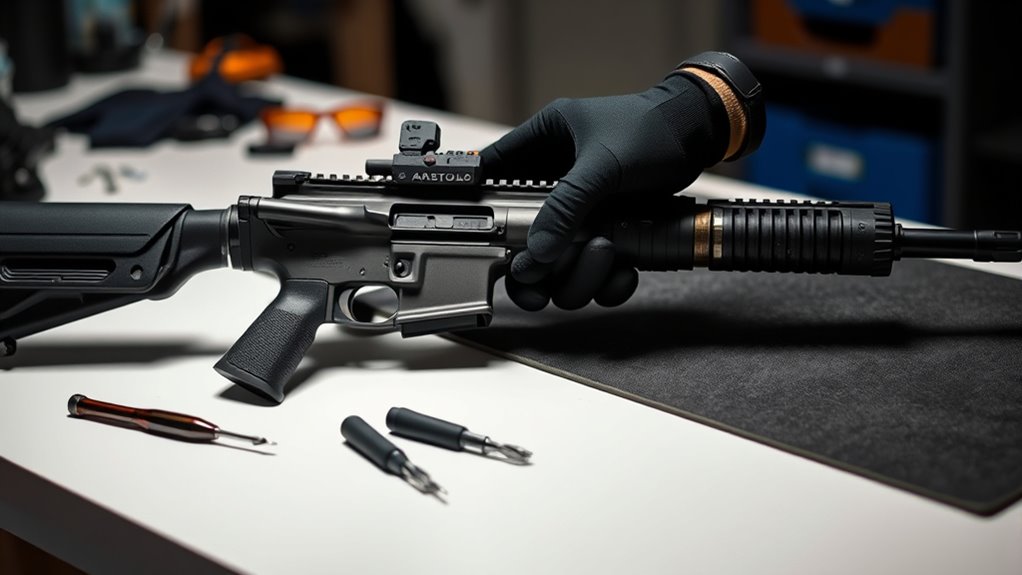
Before you begin disassembling your AR-15, make certain it’s completely unloaded and the chamber is clear to verify your safety. Safety precautions are paramount; always work in a well-lit, clean area free from distractions. Make sure you have the necessary tools needed for disassembly, such as a punch set, a small hammer, and a bench block.
Wearing safety glasses protects your eyes from spring-loaded parts. Keep your workspace organized to avoid losing small components. Confirm that the firearm is pointed in a safe direction throughout the process.
Avoid rushing; methodical steps reduce the risk of damage or injury. By strictly adhering to these safety precautions and preparing your tools ahead of time, you’ll make certain a smooth and secure disassembly of your AR-15.
Remove the Magazine and Clear the Chamber Safely
Start by pressing the magazine release button to remove the magazine securely.
Next, pull the charging handle back to visually and physically check that the chamber is empty.
Always verify the chamber is clear before proceeding with any further disassembly steps.
Magazine Removal Process
Grip the magazine firmly and press the magazine release button to safely remove it from the AR-15. Verify your finger is off the trigger and the rifle is pointed in a safe direction. Different magazine types—such as standard detachable box magazines or drum magazines—may require varying pressure or techniques for removal.
Familiarize yourself with your specific magazine type to avoid damage. Regular magazine maintenance is vital; inspect for dirt, debris, and spring tension to prevent feeding issues. After removal, place the magazine aside in a secure location.
This step is fundamental before proceeding with any further disassembly or clearing actions. Always confirm the rifle is unloaded by visually and physically checking the chamber after removing the magazine. This disciplined approach guarantees safety throughout the disassembly process.
Chamber Clearing Techniques
Once you’ve removed the magazine, you need to clear the chamber to certify the AR-15 is completely unloaded. Pull the charging handle fully to the rear and visually inspect the chamber to confirm no round remains. Perform multiple safety checks by both looking and feeling inside the chamber.
Insert a chamber flag to clearly indicate the firearm’s unloaded status, especially if you’re working around others or storing the weapon. The chamber flag acts as a physical and visual confirmation that the chamber is empty. Never rely solely on removing the magazine; always verify the chamber is clear.
Proper chamber clearing techniques are critical for your safety and those around you. Following these precise steps prevents accidental discharges and certifies a safe disassembly process.
Separate the AR-15 Upper and Lower Receivers
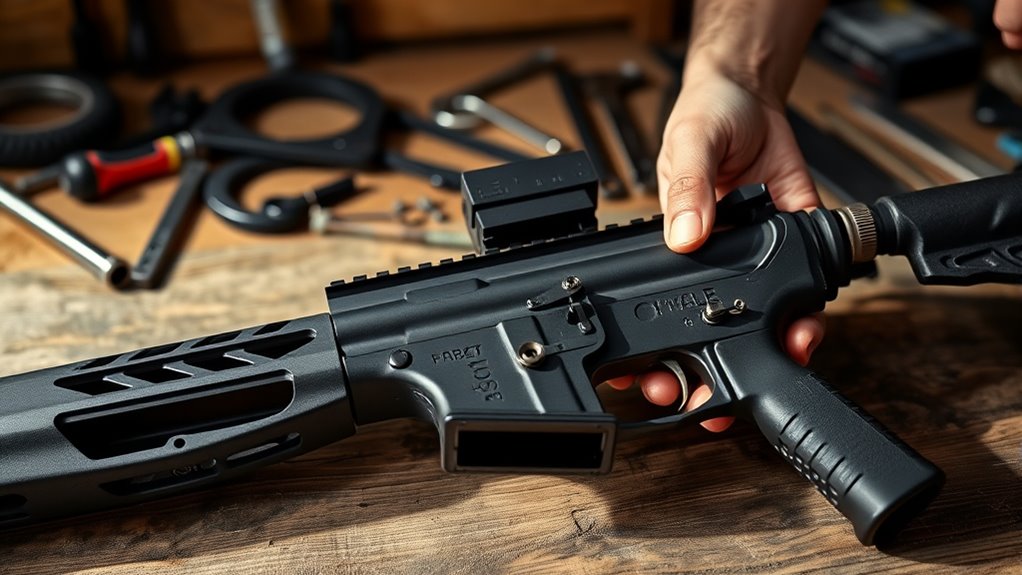
To separate the AR-15 upper and lower receivers, guarantee the rifle is unloaded and the safety is engaged. Begin by locating the two takedown pins on the side of the lower receiver. These pins secure the upper receiver to the lower receiver.
Push the rear takedown pin from left to right using a punch or your thumb until it pops free. Next, push the front pivot pin similarly until it disengages. With both pins removed, carefully pivot the upper receiver upward away from the lower receiver.
You may now fully separate the two components by pulling them apart horizontally. Handle both receivers carefully to avoid damaging pins or detents. This step is essential for further disassembly and cleaning.
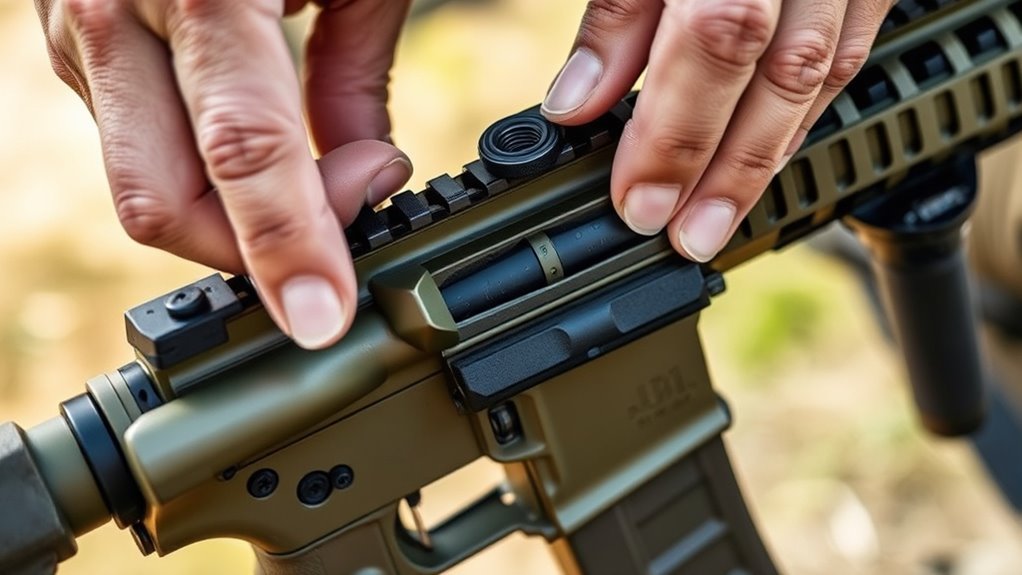
Remove the AR-15 Bolt Carrier Group and Charging Handle
Now that the upper and lower receivers are separated, you’ll release the upper receiver to access the bolt carrier group. Carefully pull the bolt carrier out, ensuring it slides smoothly without forcing.
Next, remove the charging handle by pulling it rearward and lifting it out of the upper receiver.
Unlocking the Upper Receiver
Removing the AR-15 bolt carrier group and charging handle is the essential first step in releasing the upper receiver. Once these components are out, you can focus on disengaging the upper receiver itself.
Begin by ensuring the rear takedown pin is pushed out from the lower receiver. This pin secures the upper and lower receivers together. Using firm pressure, pivot the upper receiver upward or separate it directly from the lower receiver, depending on your model.
Mastering these disassembly techniques will allow you to swiftly and safely detach the upper receiver without damaging any parts. Always handle the upper receiver carefully, as it contains critical components.
Properly disengaging it prepares you for further maintenance or cleaning tasks, streamlining your AR-15 disassembly process.
Extracting the Bolt Carrier
Start by pulling the charging handle straight back until it stops, then carefully lift the bolt carrier group out of the upper receiver. Confirm you maintain a firm grip on the bolt carrier to avoid dropping it.
As you extract the bolt carrier, observe the gas key mounted atop it; this component is essential for directing gas to cycle the action. Handle the bolt carrier and gas key with care to prevent damage.
If the bolt carrier resists, double-check that the upper receiver is fully released and no debris obstructs removal. Once free, set the bolt carrier group aside on a clean surface. This step clears the upper receiver and allows access for further disassembly or cleaning.
Removing the Charging Handle
Grip the charging handle firmly and pull it straight back until it stops, then carefully slide it out of the upper receiver. Depending on your AR-15 model, you may encounter different charging handle types, such as standard, ambidextrous, or extended latch variants. Each type requires the same removal technique but pay attention to any additional components or retention features.
Removing the charging handle allows you to access the bolt carrier group for cleaning or maintenance. For proper charging handle maintenance, inspect the latches and rails for wear or debris, and apply a light layer of lubricant to guarantee smooth operation. When reassembling, make sure the charging handle seats fully into the upper receiver to avoid malfunctions.
Mastering this step is essential for effective AR-15 disassembly and upkeep.
Disassemble the AR-15 Bolt Carrier Group Components
To disassemble the AR-15 bolt carrier group components, you’ll first confirm the firearm is unloaded and cleared. Remove the bolt carrier group from the upper receiver by pulling it straight back. Place the bolt carrier on a clean surface.
Start by pushing out the firing pin retaining pin with a small punch or similar tool. Once removed, tilt the bolt carrier to allow the firing pin to slide out. Next, rotate the cam pin 90 degrees and lift it out of the bolt carrier.
With the cam pin removed, pull the bolt forward and out of the bolt carrier. Now, you’ve successfully separated the main bolt carrier group components. This precise disassembly enables thorough cleaning and inspection of the bolt carrier and its parts.
Remove the Buffer Tube and Stock Assembly
Loosen the castle nut securing the buffer tube to the lower receiver using an armorer’s wrench or appropriate tool. Once loosened, depress the end plate detent to release tension on the buffer tube. Carefully slide the buffer tube and stock assembly away from the receiver, ensuring the buffer spring and buffer are contained within the tube.
This step requires steady control to avoid losing small parts.
| Step | Action |
|---|---|
| 1. Loosen castle nut | Use armorer’s wrench on buffer tube nut |
| 2. Depress end plate | Release buffer tube tension |
| 3. Slide assembly out | Remove buffer tube and stock assembly |
Removing the buffer tube and stock assembly prepares your AR-15 for further disassembly or maintenance.
Clean Your AR-15 During Disassembly
Start by wiping down all accessible parts with a clean cloth to remove surface dirt and debris. Gather the necessary cleaning supplies, including a bore brush, cleaning patches, solvent, lubricant, and a sturdy cleaning mat. Use a solvent-soaked patch to clean the barrel, followed by a bore brush to loosen fouling, then run dry patches through until they come out clean.
Apply lubricant sparingly to moving parts to guarantee smooth operation without attracting excess dirt. Pay special attention to the bolt carrier group and chamber area, as these accumulate the most residue. Follow these maintenance tips consistently during disassembly to prolong your AR-15’s lifespan and maintain peak performance.
Proper cleaning during disassembly prevents malfunctions and keeps your firearm reliable.
Reassemble Your AR-15 After Maintenance
Once you’ve thoroughly cleaned and lubricated your AR-15, reassembling it correctly guarantees reliable function and safety. Follow proper reassembly techniques to confirm every part fits and operates as intended. Begin by aligning the upper and lower receivers, then reinsert the pivot and takedown pins securely.
Properly reassembling your cleaned AR-15 ensures safe, reliable operation and optimal performance.
Don’t forget essential maintenance tips like checking the bolt carrier group and confirming the charging handle is seated properly. Here’s a quick checklist to guide your reassembly:
- Align upper and lower receivers accurately
- Insert pivot and takedown pins firmly
- Reinstall bolt carrier group with correct orientation
- Seat charging handle fully before closing the upper
- Function check safety and trigger mechanisms
Adhering to these steps prevents malfunctions and extends your AR-15’s service life.
Frequently Asked Questions
What Tools Are Needed to Upgrade AR-15 Parts?
You’ll need punches, a torque wrench, armorer’s wrench, and hex keys for barrel upgrades and trigger replacements. A vise with upper receiver block guarantees stability.
Don’t forget safety glasses and lubricant for smooth, precise installation.
How Do I Customize the AR-15 for Competition Shooting?
To customize your AR-15 for competition shooting, install custom stocks for improved ergonomics and precision optics to enhance target acquisition. Adjust trigger sensitivity and consider lightweight components to optimize speed and accuracy during matches.
These modifications help tailor the rifle to your specific shooting style and competition requirements. Additionally, upgrading the barrel and muzzle device can further improve performance and control. Regular maintenance and practice with your customized setup are essential for consistent results.
What Are the Legal Restrictions on AR-15 Modifications?
Think of your AR-15 as a canvas, bound by legal regulations that act like the frame—modification guidelines guarantee your creativity stays lawful.
You can’t alter features classified under restricted categories without risking serious penalties. Always verify local laws.
How Often Should I Lubricate My AR-15?
You should lubricate your AR-15 after every 200-300 rounds or monthly if unused.
Use quality lubrication types like CLP or synthetic oils to guarantee peak performance and prevent wear during regular maintenance.
What Are Common Troubleshooting Tips for AR-15 Malfunctions?
You’ll want to check for malfunction causes like dirt, improper lubrication, or worn parts. Use troubleshooting techniques such as cleaning, inspecting components, and ensuring correct assembly to resolve feeding, ejection, or misfire issues effectively.
Conclusion
Now that you’ve taken your AR-15 apart step by step, you’re ready to keep it in tip-top shape. Remember, safety first—always clear the chamber and remove the magazine before starting. Treat each component like a puzzle piece; when you put them back together, everything should fit seamlessly.
With practice, disassembly and reassembly will become second nature, letting you maintain your rifle with confidence and precision every time. Mastering how to disassemble an AR-15 ensures your firearm remains reliable and well-maintained for years to come.