To hide a trail camera effectively, start by selecting high-traffic animal paths near natural features such as ridges or water sources. These locations increase the likelihood of capturing wildlife activity while providing natural cover for your device.
Use natural materials like leaves, twigs, and moss to blend the camera seamlessly into its surroundings. Position the camera carefully to avoid glare by considering the angles of the sun throughout the day.
Secure your trail camera with locks and protective housing to prevent theft and damage. This also helps maintain sensor accuracy.
Testing the placement under varied light conditions ensures optimal concealment and functionality.
Explore strategic techniques to further enhance your camera’s stealth and overall performance in the field.
Key Takeaways
- Camouflage the camera using natural materials like leaves, twigs, bark, moss, or camo fabric to blend with the environment. Position the camera near animal trails, feeding areas, or water sources but avoid open or easily visible spots.
- Secure the camera with locks and place it out of direct reach while maintaining an effective field of view. Adjust the camera angle to minimize glare and shadows by considering the sun’s path and local lighting conditions.
- Test the placement in various lighting to ensure concealment and optimize detection zones for accurate wildlife capture.
Find the Best Spot to Hide Your Trail Camera
When choosing the best spot to hide your trail camera, consider both animal behavior and environmental factors to maximize effectiveness. You should identify the best locations by observing animal paths, feeding areas, and water sources, as these are high-traffic zones.
Pay close attention to terrain features such as ridges, valleys, and natural funnels, which naturally guide wildlife movement. Placing your camera near these features increases the likelihood of capturing activity. Avoid open areas where the camera might be easily spotted or disturbed.
Also, consider elevation and angle to optimize the field of view while minimizing exposure. By strategically selecting terrain features and high-traffic zones, you’ll enhance your trail camera’s performance and reduce the chance of detection.
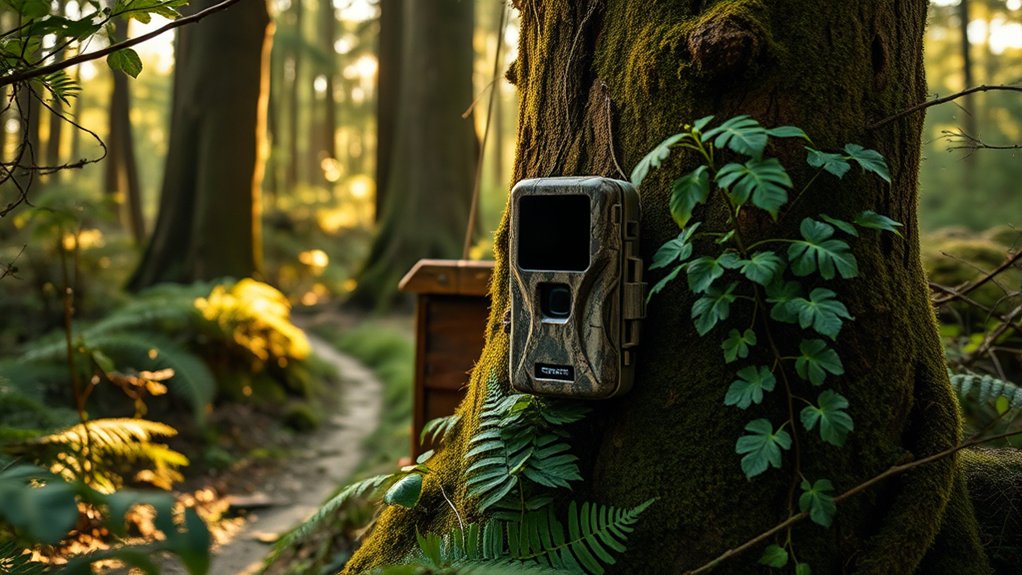
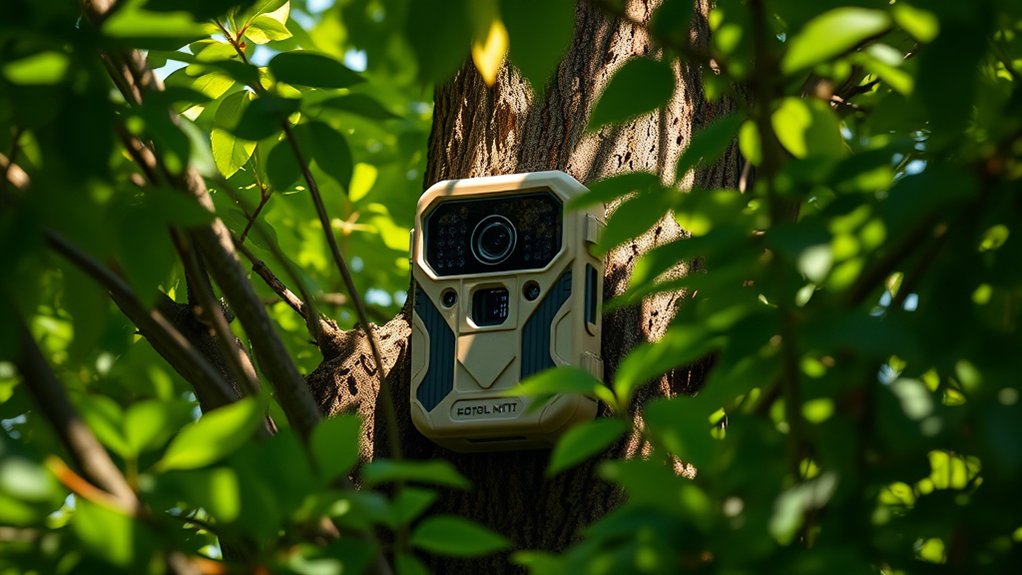
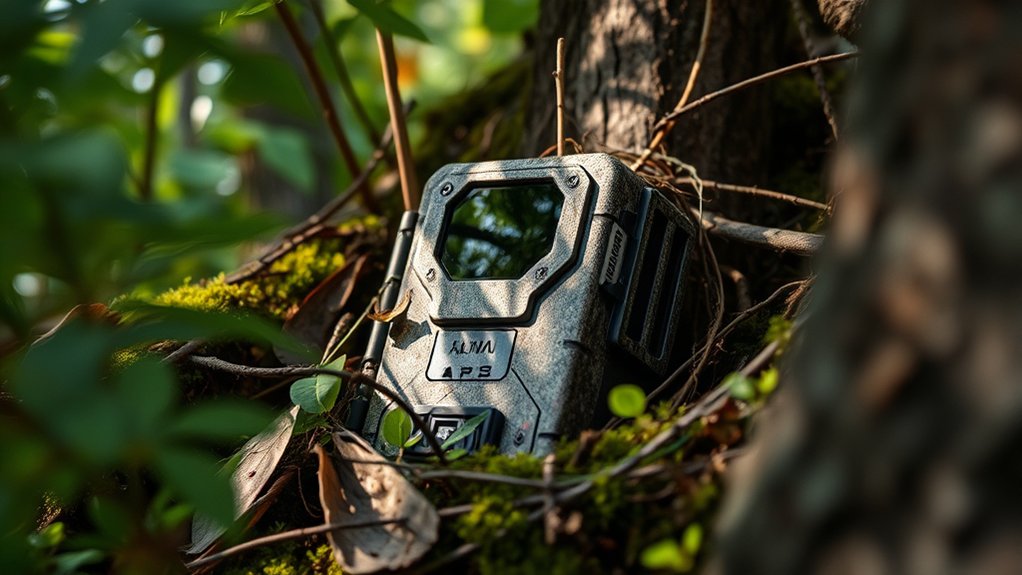
Use Natural Cover and Camouflage to Hide Your Trail Camera
Three key principles guide the effective use of natural cover and camouflage to conceal your trail camera: blending with the environment, minimizing reflective surfaces, and avoiding unnatural shapes. To achieve this, use natural materials like leaves, twigs, and bark to mask the device without obstructing its lens or sensors. Select effective colors that match the surrounding foliage and terrain to reduce visual contrast.
Consider these strategies:
- Attach moss or lichen to the camera housing for texture and color blending.
- Wrap the camera in a camo fabric patterned with earthy tones.
- Place natural debris strategically around the device to break its outline.
Position Your Trail Camera to Avoid Glare and Shadows
One essential factor in positioning your trail camera is to minimize glare and shadows, which can obscure image quality and sensor accuracy. You need to take into account the sun’s path and local lighting conditions for effective glare reduction and shadow management.
Position the camera at an angle that avoids direct sunlight and uses natural shade to soften shadows.
| Time of Day | Lighting Condition |
|---|---|
| Morning | Avoid east-facing glare |
| Midday | Position under canopy for shade |
| Afternoon | Avoid west-facing glare |
| Evening | Use low angles to reduce harsh shadows |
Secure Your Trail Camera Against Theft and Damage
Although trail cameras are designed for outdoor use, you’ll need to secure them properly to prevent theft and damage from wildlife or environmental factors. Start by enclosing your camera in durable protective housing that shields it from rain, dust, and animal interference. Use camera locks to physically secure the device to a tree or post, deterring opportunistic theft.
Secure trail cameras with protective housing and locks to prevent theft and environmental damage.
Additionally, consider these precautions:
- Position the camera out of visible reach but within effective range.
- Regularly inspect and maintain the protective housing to guarantee integrity.
- Use camouflage materials that blend with the environment without obstructing the lens.
Implementing these measures will enhance your trail camera’s longevity and reliability, guaranteeing consistent data collection while minimizing risks of loss or malfunction.
Test and Adjust Your Trail Camera for Better Concealment
When you position your trail camera, you’ll need to test its field of view and adjust settings to secure ideal concealment without compromising image quality. Begin by activating the camera and observing detection zones to confirm that the sensor captures movement accurately within the targeted area. Adjust the camera settings, such as sensitivity and trigger interval, to reduce false activations caused by environmental factors while maintaining effective coverage.
Physically inspect the camera’s placement to guarantee it blends with surrounding foliage and avoids direct sunlight or reflective surfaces that could reveal its presence. Repeat tests at different times and lighting conditions to verify consistent performance. Systematic testing and fine-tuning of camera settings and detection zones maximize concealment while securing reliable data capture.
Frequently Asked Questions
What Types of Batteries Last Longest in Trail Cameras?
You’ll find lithium batteries last longest in trail cameras due to higher energy density and better cold-weather performance, while alkaline batteries drain faster.
Choosing lithium guarantees extended operation, reducing battery changes and improving reliability in your device.
Can Trail Cameras Capture Clear Images at Night?
Yes, you can capture clear images at night; trail cameras use infrared technology paired with night vision to reveal details unseen by the naked eye.
This scientific combination guarantees precise, high-quality nocturnal monitoring for your observations.
How Do I Choose the Right Trail Camera for Wildlife?
You’ll want trail camera features like high-resolution imaging, fast trigger speed, and infrared night vision.
Pair these with wildlife photography tips—like strategic placement and minimizing disturbance—to capture clear, natural animal behavior effectively.
Are Trail Cameras Legal to Use on Public Land?
You’re maneuvering through a legal maze when using trail cameras on public land. Public land regulations vary, so you should check if trail camera permits are required.
Always comply with local laws to avoid penalties and protect wildlife.
What Are the Best Settings for Capturing Fast-Moving Animals?
You should set your trail camera to fast motion mode with a high shutter speed to reduce blur, and select the highest image quality for clear details.
Adjust sensitivity to balance detection speed and false triggers effectively.
Conclusion
By carefully selecting a spot cloaked in natural shadows and blending your trail camera with surrounding foliage, you transform it into an invisible sentinel in the wilderness. Position it to dodge glaring sunlight and secure it firmly against theft or damage, ensuring uninterrupted monitoring.
Like a chameleon adapting to its environment, your camera will remain undetected yet vigilant. Test and fine-tune its placement to perfect this balance between concealment and functionality.
Achieving ideal results in wildlife observation depends on mastering how to hide a trail camera effectively.