Trail cameras work by using motion-activated passive infrared (PIR) sensors that detect heat and movement within their view to trigger photo or video capture.
These sensors are key to capturing wildlife activity as they respond to changes in temperature and motion in the camera’s field of vision.
They’re equipped with infrared LEDs that illuminate scenes invisibly at night, allowing for clear, disturbance-free images.
This night vision capability ensures you can monitor wildlife without startling them.
The sensor’s sensitivity and rapid trigger speed help you capture wildlife activity accurately.
These cameras store footage on compatible memory cards while conserving battery life through smart settings.
Understanding their setup and features will help you optimize performance.
Proper placement and adjustment of sensitivity settings are crucial for getting the best results from your trail camera.
Key Takeaways
- Trail cameras use passive infrared (PIR) sensors to detect heat and motion from animals or people in their field of view.
- When motion is detected, the camera quickly captures images or videos, storing them on an internal memory card.
- Infrared LEDs provide invisible illumination for clear night photos without disturbing wildlife.
- Adjustable sensor sensitivity helps optimize detection range and reduce false triggers from environmental factors.
- Proper camera positioning and maintenance, including battery checks and memory formatting, ensure reliable operation and quality captures.
What’s a Trail Camera and Why Should You Use One?
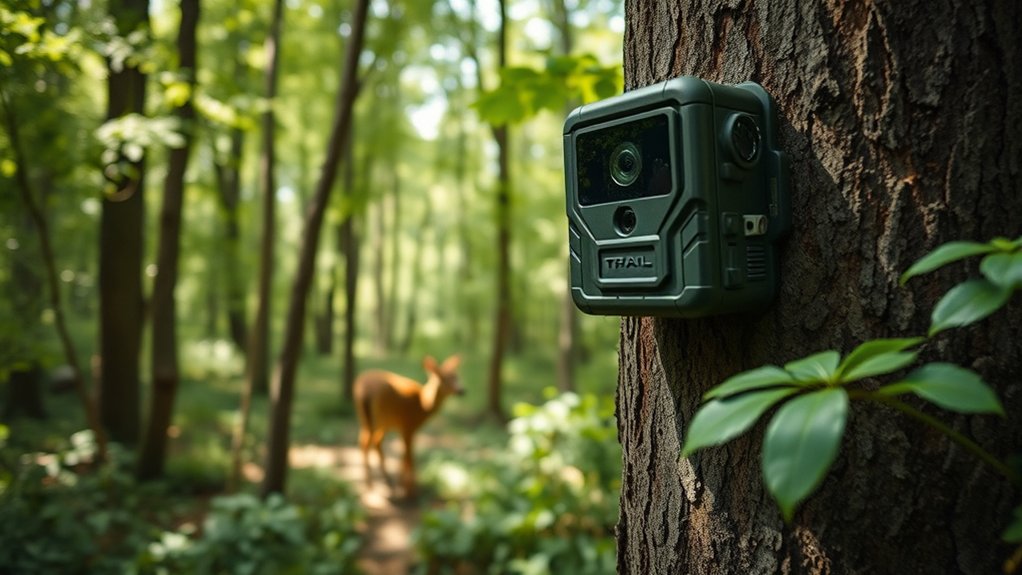
A trail camera is a motion-activated device designed to capture images or videos of wildlife and outdoor activity with minimal human intervention. When you use one, you gain the ability to monitor animal behavior and movement patterns without disturbing their natural environment.
The trail camera benefits include continuous data collection, remote observation, and enhanced accuracy in wildlife monitoring. You’ll appreciate how these devices operate silently and discreetly, providing valuable insights for research, hunting, or conservation efforts.
How Do Motion Sensors Trigger Trail Cameras?
Understanding how trail cameras capture images starts with examining the motion sensors that activate them. These sensors rely on motion detection technology, typically using passive infrared (PIR) sensors to detect changes in heat and movement within their field of view.
When an animal or person enters this zone, the sensor registers the motion and sends a signal to trigger the camera’s shutter.
You can adjust the sensor sensitivity to optimize detection range and reduce false triggers caused by environmental factors like wind or sunlight. Higher sensitivity captures smaller or more distant movements, while lower sensitivity filters out minor disturbances.
The Role of Infrared Technology in Trail Camera Night Photos
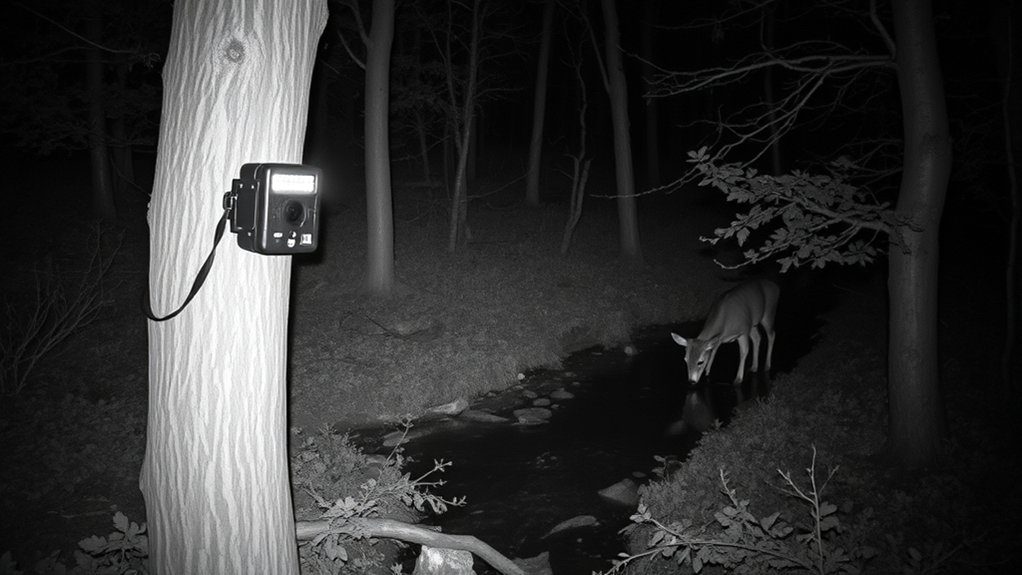
When ambient light fades, infrared technology enables trail cameras to capture clear images without disturbing wildlife. You rely on the infrared flash to illuminate the scene invisibly, maintaining night visibility while avoiding startling animals.
This technology works by emitting low-intensity infrared light, invisible to the human eye, which the camera sensor detects and translates into a visible image.
Here’s how infrared technology plays its role:
- Infrared LEDs emit light that’s undetectable to wildlife.
- The camera sensor captures reflected infrared light to form images.
- Night visibility improves without using bright, disruptive flashes.
- The system balances illumination and stealth for accurate nocturnal monitoring.
How Do Trail Cameras Capture Photos and Videos?
You’ll find that trail cameras rely on motion detection sensors to activate their image and video capture systems. Once triggered, the camera’s sensors process and record the visual data quickly and efficiently.
Then, the captured files are stored on internal memory for easy retrieval and analysis.
Motion Detection Mechanism
Although trail cameras may seem passive, they actively monitor their surroundings using infrared sensors that detect heat and motion. When an animal or person passes within the camera’s detection zone, these sensors trigger the camera to capture images or videos.
To verify accuracy, you can customize settings like motion sensitivity adjustment and detection range optimization. Here’s how the mechanism works:
- Infrared sensors detect changes in heat and movement within a predefined range.
- Motion sensitivity adjustment fine-tunes the camera to avoid false triggers from small animals or environmental factors.
- Detection range optimization sets the effective distance for capturing subjects without missing important activity.
- Once triggered, the camera rapidly records images or video, minimizing delay for real-time monitoring.
This precise system guarantees efficient and targeted data collection in diverse environments.
Image and Video Sensors
Since trail cameras rely on timely detection, their image and video sensors must quickly convert visual data into digital formats. You’ll find that these sensors use advanced sensor technology, typically CMOS or CCD sensors, which efficiently capture light and translate it into electronic signals.
The image resolution depends heavily on the sensor’s capability, directly affecting the clarity and detail of photos and videos you capture. Higher resolution sensors provide sharper images, essential for identifying wildlife or intruders at a distance. Additionally, sensor sensitivity impacts performance in low-light conditions, enabling the camera to maintain quality without excessive noise.
Understanding this sensor technology helps you appreciate how trail cameras balance speed, image resolution, and power consumption to deliver reliable, high-quality visual records in the field.
Triggering and Storage Process
When a trail camera detects movement, it activates its internal systems to capture photos or videos promptly. The efficiency depends heavily on trigger speed and storage capacity. Here’s how the process works:
- The sensor detects motion and signals the processor within milliseconds.
- The camera’s trigger speed determines how quickly it captures an image or starts video recording after detection.
- Once captured, files are immediately saved to internal memory or an external SD card, depending on storage capacity.
- The device cycles through storage space, overwriting the oldest files when memory is full, ensuring continuous operation.
Key Features to Consider When Choosing a Trail Camera
Choosing the right trail camera requires evaluating several key features that directly impact performance and usability. Focus on image resolution for clear, detailed photos and weather resistance to guarantee reliable operation in harsh environments.
Other important aspects include trigger speed, detection range, and battery life, which influence how effectively the camera captures activity.
| Feature | Importance | What to Look For |
|---|---|---|
| Image Resolution | Sharpness and detail | At least 12 MP for clear images |
| Weather Resistance | Durability in varied conditions | Waterproof and dustproof ratings |
| Trigger Speed | Capturing fast-moving subjects | Less than 1 second preferred |
| Detection Range | Coverage area | 60+ feet for wider monitoring |
| Battery Life | Operational duration | Long-lasting, preferably rechargeable |
Trail Camera Memory and Storage Options
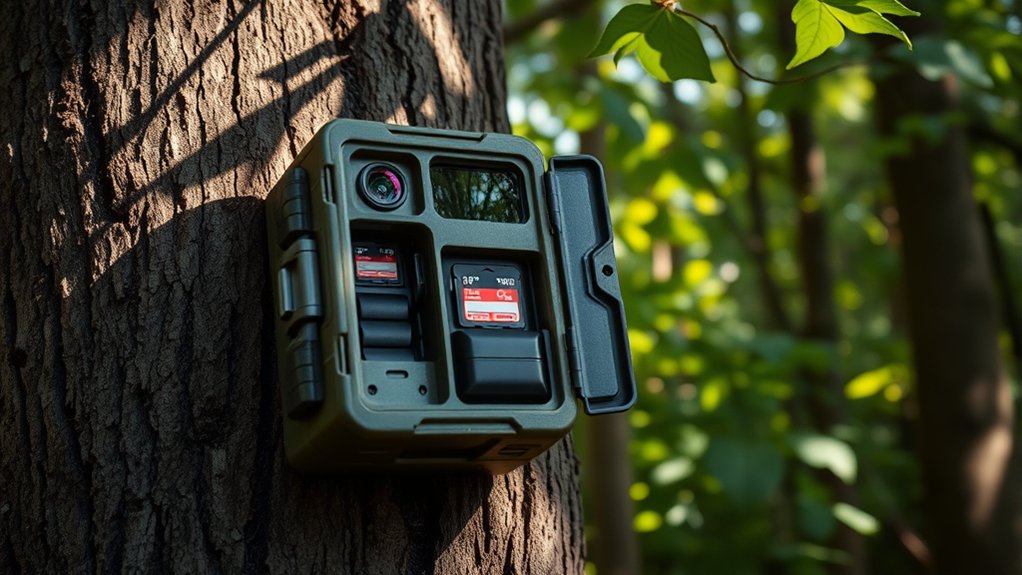
When selecting a trail camera, you’ll need to choose the right type of memory card, typically SD or microSD, compatible with your device. Storage capacity is vital since higher resolution images and longer video clips require more space, often ranging from 16GB to 128GB or more.
Understanding these options guarantees your camera can store sufficient data without frequent card changes.
Types Of Memory Cards
Several types of memory cards are compatible with trail cameras, each offering distinct capacities and speeds that affect performance. Understanding SD card types and memory card capacity helps you optimize your device’s recording capabilities.
- SD (Secure Digital) – Standard format, supports up to 2GB; limited for high-resolution images.
- SDHC (Secure Digital High Capacity) – Ranges from 4GB to 32GB; balances capacity and compatibility.
- SDXC (Secure Digital Extended Capacity) – Offers 64GB to 2TB; ideal for extended monitoring periods.
- microSD – Compact size, similar capacity ranges as SD cards; often used with adapters.
Choosing the right type depends on your trail camera’s specifications and your need for storage space versus data transfer speed.
Storage Capacity Considerations
Understanding the types of memory cards is only part of managing your trail camera’s storage needs. You must also consider storage size and card compatibility to guarantee uninterrupted recording. Larger storage sizes let you capture more photos and videos before needing to swap cards.
Yet, not all cameras support every card size or format. Check your camera’s specifications for maximum card capacity and compatible formats like SD, SDHC, or SDXC.
| Storage Size | Approx. Photos (12MP) | Card Compatibility |
|---|---|---|
| 16 GB | ~4,000 | SD, SDHC |
| 32 GB | ~8,000 | SDHC |
| 64 GB | ~16,000 | SDXC |
| 128 GB | ~32,000 | SDXC |
Selecting the correct size and format optimizes performance and prevents data loss.
How to Keep Your Trail Camera Powered Longer
Although trail cameras are designed for extended outdoor use, you’ll need to implement specific strategies to maximize their battery life. Effective battery conservation extends operational periods and reduces maintenance frequency. Consider these four key tactics:
- Use high-capacity lithium batteries; they offer greater energy density and longer life than alkalines.
- Enable motion sensitivity settings to minimize unnecessary activations, conserving power.
- Integrate a solar power panel compatible with your camera model to recharge batteries continuously.
- Power down non-essential features, such as LED flash or Wi-Fi, during periods of inactivity.
How to Set Up and Position Your Trail Camera for Best Results
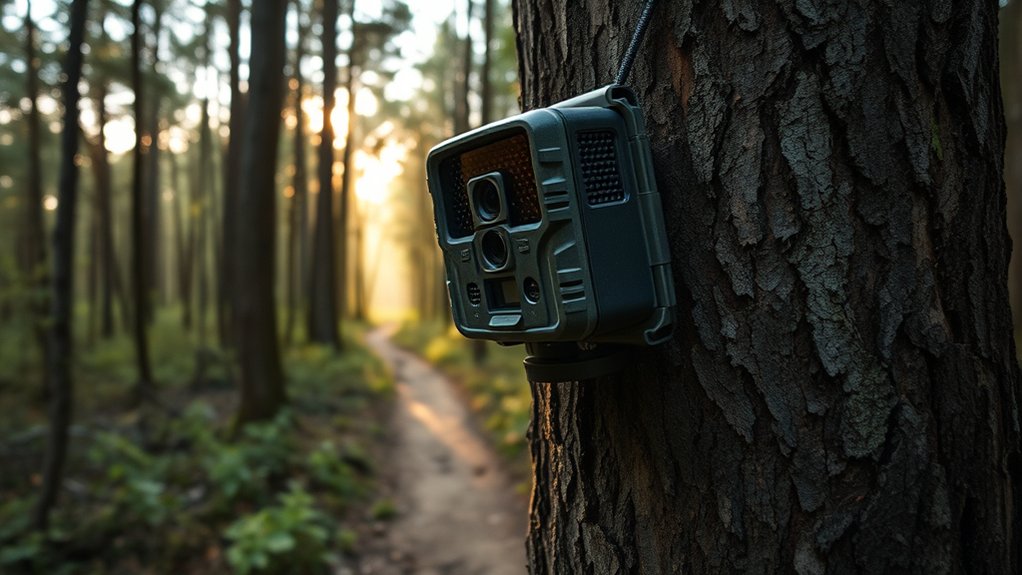
Maintaining ideal battery life sets the foundation for uninterrupted monitoring, but positioning your trail camera correctly determines the quality of the footage you capture. Focus on camera placement by selecting stable, elevated locations with clear sightlines to animal paths.
Adjust your camera at best angles—typically 30 to 45 degrees downward—to maximize detection range and image clarity. Avoid direct sunlight and dense foliage that can trigger false captures or obscure subjects.
| Factor | Recommendation | Reason |
|---|---|---|
| Height | 3-5 feet | Aligns with typical animal height |
| Angle | 30° to 45° downward | Enhances motion detection |
| Background | Clear, uncluttered | Reduces false triggers |
| Lighting | Avoid direct sunlight | Prevents glare and overexposure |
| Stability | Secure mounting | Guarantees consistent framing |
Common Trail Camera Problems and How to Fix Them
When your trail camera malfunctions, it can disrupt your monitoring efforts and lead to missed wildlife activity. Addressing common problems promptly guarantees reliable performance.
Promptly fixing trail camera issues ensures uninterrupted monitoring and captures all vital wildlife moments.
Here are four frequent issues and fixes:
- Battery issues: Replace or recharge batteries regularly; use high-quality lithium batteries for longer life.
- Poor image quality: Clean the lens and adjust focus settings; guarantee adequate lighting and correct camera placement.
- False triggers: Reduce sensitivity or reposition the camera to minimize movement from vegetation or temperature changes.
- Memory card errors: Format the card in the camera, and use compatible, high-speed cards to prevent data corruption.
Frequently Asked Questions
Can Trail Cameras Be Used for Home Security?
Yes, you can use trail cameras for home monitoring since they offer security features like motion detection and night vision.
You’ll benefit from real-time alerts, helping you observe activity around your property effectively.
How Weather-Resistant Are Trail Cameras?
You won’t have to worry about a little rain or snow. Trail cameras often feature waterproof ratings like IP66 and withstand temperature resistance from -20°C to 60°C, ensuring reliable operation in various weather conditions.
This means they can handle both wet and cold environments without any issues. Their durable construction protects the internal components from moisture and extreme temperatures.
Whether you’re hiking in the rain or experiencing a cold snap, your trail camera will continue to function effectively. These features make trail cameras ideal for outdoor use in diverse climates.
Do Trail Cameras Work in Extreme Temperatures?
Trail cameras do work in extreme temperatures, but battery performance declines as temperature effects reduce capacity.
You’ll notice shorter battery life in cold or hot conditions, so using temperature-resistant batteries helps maintain functionality.
Can Trail Cameras Record Audio Along With Video?
Most trail cameras don’t have audio capabilities since they focus on video quality and motion detection.
If you need sound, you’ll want a specialized model designed to record both audio and high-resolution video simultaneously.
Are There Legal Restrictions on Using Trail Cameras?
Of course, you can secretly film your neighbors—just kidding! You must follow legal regulations and ethical considerations, ensuring you respect privacy laws and property rights.
Ignoring these can lead to fines or legal trouble, so proceed cautiously.
Conclusion
Think of your trail camera as a silent sentinel, patiently watching the forest’s theater. Just like a skilled observer, it uses motion sensors and infrared eyes to capture fleeting moments in the wild. By understanding its technology and setup, you’ll guarantee your sentinel never misses a scene.
With the right features and maintenance, your trail camera becomes more than a device—it’s your precise, tireless partner in revealing nature’s hidden stories. Mastering how trail cameras work ensures you capture every crucial moment with clarity and reliability.