To build an AR-15, start by selecting compatible upper and lower receivers along with essential parts like the bolt carrier group, barrel, and buffer assembly.
Organize your workspace to ensure a smooth assembly process. Carefully assemble the components, verifying proper alignment and torque as you go.
Always perform thorough function and safety checks, including trigger and safety mechanism tests, to confirm reliable operation.
Consider upgrades thoughtfully, keeping legal and mechanical safety in mind. Follow detailed guidance to guarantee a precise, safe, and successful build process.
Key Takeaways
- Select compatible upper and lower receivers made from durable materials like aluminum alloys for strength and reliability.
- Assemble by attaching the barrel to the upper receiver, installing the gas system, and securing the lower receiver parts with correct torque.
- Ensure proper alignment and secure fit of stock, buffer tube, and takedown pins between upper and lower receivers.
- Perform function and safety checks including safety mechanism, trigger operation, bolt carrier movement, and bolt lock engagement.
- Consider upgrades like adjustable stocks and ergonomic grips while maintaining mechanical integrity and complying with safety and legal standards.
Essential AR-15 Parts You Need
Building your own AR-15 starts with understanding the essential parts you’ll need to assemble a safe and reliable firearm. At minimum, you must have the bolt carrier group, charging handle, barrel, gas system, and buffer assembly. Each component plays a critical role in the firearm’s function and safety.
Alongside these, essential accessories such as a quality trigger, magazine, and reliable sights guarantee peak performance and user control. You’ll want to prioritize parts that meet industry standards and are compatible with your build to avoid malfunctions.
Selecting Your Upper and Lower Receivers
When selecting your upper and lower receivers, you need to prioritize materials that balance strength and weight, typically aluminum alloys. Ensuring compatibility between the two is critical for proper fit and safe operation.
Always verify that your components are from reputable manufacturers and designed to work together to avoid malfunctions.
Receiver Material Choices
Choosing the right material for your AR-15’s upper and lower receivers is essential to guaranteeing reliability, durability, and safety. You’ll primarily choose between aluminum vs polymer, each with distinct pros and cons, especially regarding weight considerations. Here’s what to keep in mind:
- Aluminum receivers offer superior strength and heat resistance, making them ideal for sustained firing and long-term durability.
- Polymer receivers are lighter, reducing overall weapon weight, but may sacrifice some durability under extreme conditions.
- Consider the intended use; heavier aluminum suits tactical or precision builds, while polymer benefits lightweight, carry-focused builds.
- Always verify materials meet industry standards to guarantee safety and functional integrity.
Selecting the right receiver material sets the foundation for a reliable, safe AR-15 tailored to your specific needs.
Compatibility and Fit
Although selecting your AR-15 receivers might seem straightforward, guaranteeing proper compatibility and fit between the upper and lower is critical for safe operation and ideal performance. You need to verify caliber compatibility to prevent malfunctions or damage. Also, check stock fit since mismatched receivers can affect ergonomics and handling.
Always confirm that the upper and lower are from reputable manufacturers with matching specifications.
| Aspect | Consideration |
|---|---|
| Caliber Compatibility | Match upper barrel chamber and lower magazine well |
| Stock Fit | Guarantee buffer tube and stock alignment |
| Pin Alignment | Check takedown and pivot pin holes |
| Material Consistency | Use receivers with similar durability ratings |
| Manufacturer Specs | Confirm OEM or compatible aftermarket parts |
Prioritize these to build a reliable and safe AR-15.
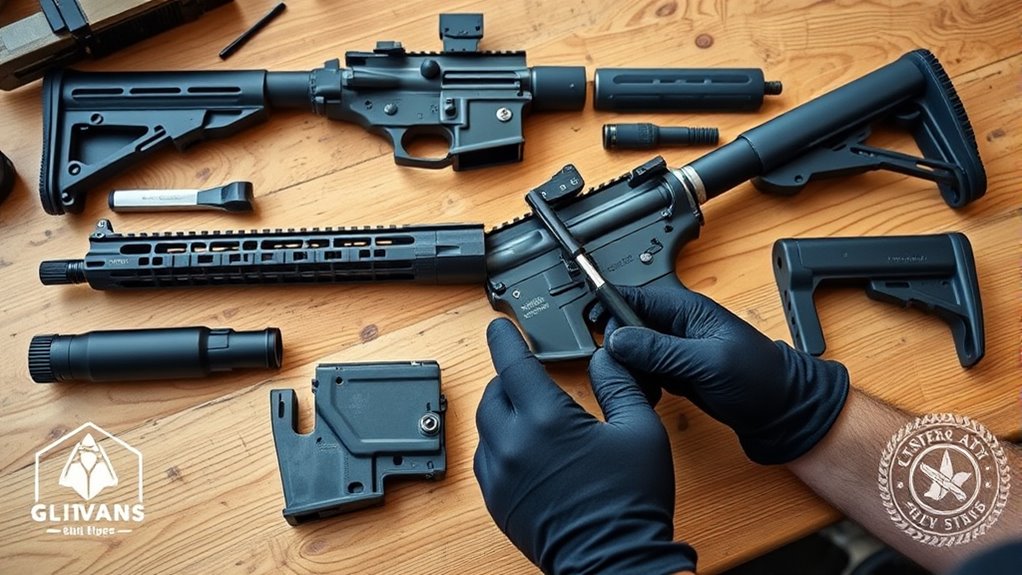
Get Your Tools and Workspace Ready
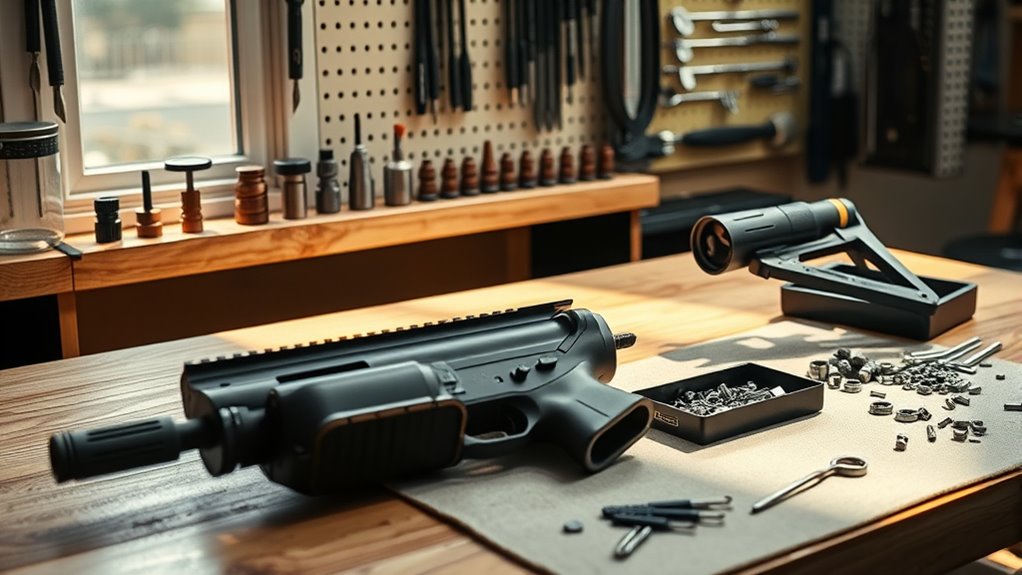
Before you start assembling your AR-15, make sure your workspace is clean, well-lit, and organized to prevent any mistakes or lost parts. Proper tool organization and workspace setup are critical for efficiency and safety. Follow these steps:
- Clear your workbench of clutter and ensure good lighting to avoid misplacing small components.
- Arrange your essential tools—armorer’s wrench, punches, hammer, torque wrench—in an orderly fashion for quick access.
- Use trays or magnetic mats to keep pins and springs from rolling away or getting lost.
- Set up a comfortable chair and maintain a stable surface to reduce fatigue and maintain focus during assembly.
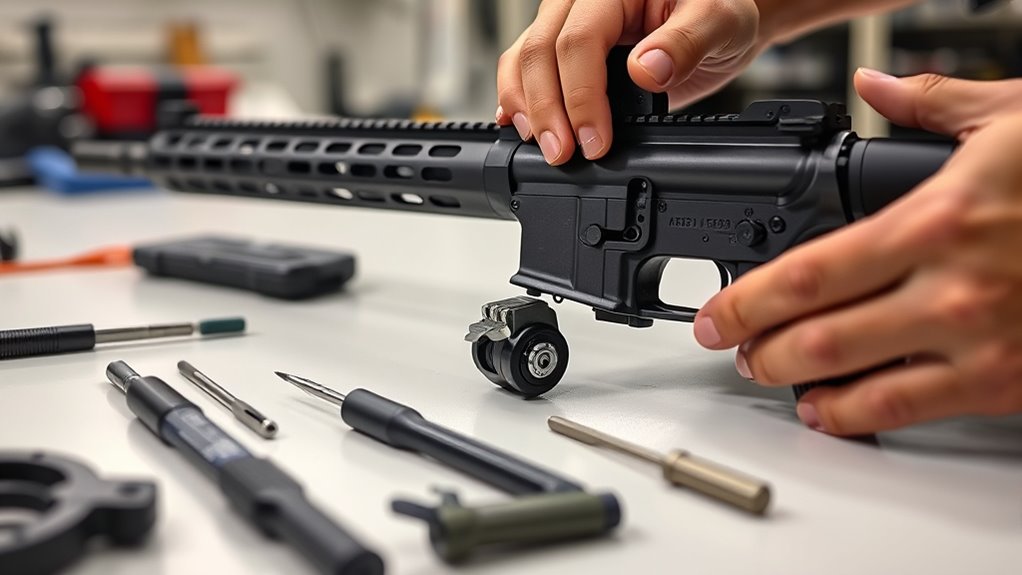
Assemble Your AR-15: Step-by-Step
Once you have your tools and workspace prepared, you can begin assembling your AR-15 with confidence and care. Follow assembly tips closely to avoid common mistakes like misaligned pins or improperly seated parts.
Take your time with each step, making sure components fit securely without forcing them.
| Step | Action | Key Tip |
|---|---|---|
| 1 | Attach barrel to upper receiver | Check alignment carefully |
| 2 | Install gas system | Guarantee proper gas tube seating |
| 3 | Assemble lower receiver parts | Use correct torque on screws |
| 4 | Join upper and lower receivers | Confirm secure takedown pins |
Maintaining focus on safety and precision during assembly prevents malfunctions and guarantees reliable operation.
Perform a Function and Safety Check
Before you finish, you need to verify that the safety mechanism engages and disengages properly. Test the trigger to guarantee it functions smoothly without any hesitation.
Finally, inspect the bolt carrier’s movement to confirm it cycles freely and locks correctly.
Verify Safety Mechanism Operation
Although assembling your AR-15 correctly is essential, verifying the safety mechanism’s operation is equally important to ascertain the firearm functions reliably and safely. Operation verification ascertains the safety mechanism prevents accidental discharge and engages properly every time. Follow these steps:
- Engage the safety lever fully and attempt to pull the trigger—there should be no movement.
- Disengage the safety lever and confirm the trigger moves smoothly without obstruction.
- Cycle the bolt to ascertain the safety mechanism maintains engagement during operation.
- Visually inspect the safety selector for proper alignment in both safe and fire positions.
Performing this operation verification confirms the safety mechanism functions as intended, protecting you and others by preventing unintentional firing under various conditions. Don’t skip this critical safety step.
Check Trigger Functionality
Test the trigger’s responsiveness and safety features thoroughly to ascertain your AR-15 operates reliably without unintended discharge. Begin by cycling the trigger through multiple pulls, noting its reset and pull weight. Different trigger types—single-stage, two-stage, or drop-in—will have distinct characteristics; verify yours matches your expectations.
Perform trigger adjustments carefully, if applicable, following manufacturer guidelines to maintain consistent pull weight and crisp engagement. Always confirm the safety selector fully prevents trigger movement in the “safe” position. Conduct a dry-fire test with the firearm pointed in a safe direction to verify proper function.
If you detect any irregularities, such as excessive trigger creep or failure to reset, address them immediately before proceeding. This meticulous check is critical to prevent malfunctions and ascertain safe, reliable operation of your AR-15.
Inspect Bolt Carrier Movement
A smooth and reliable bolt carrier movement is essential for your AR-15’s proper cycling and safety. To guarantee peak function, perform a thorough movement inspection of the bolt carrier. Follow these key steps:
- Check for smooth travel: Manually cycle the bolt carrier to confirm it moves freely without binding or resistance.
- Inspect for cleanliness: Remove carbon buildup and debris that could impede movement.
- Examine for wear or damage: Look closely at the bolt carrier rails and cam pin area for signs of excessive wear or cracks.
- Test bolt locking: Confirm the bolt fully locks into the barrel extension when cycled, verifying proper engagement.
Completing this function and safety check verifies your bolt carrier’s performance, helping prevent malfunctions and guaranteeing safe operation.
Customize and Upgrade Your AR-15
When you decide to customize and upgrade your AR-15, prioritizing safety and compatibility is essential to guarantee reliable performance. Start by selecting components designed specifically for your model to avoid malfunctions. Incorporate ergonomic accessories such as adjustable stocks and enhanced grips to improve handling and comfort.
Custom finishes not only enhance aesthetics but also protect your rifle from corrosion and wear, so choose coatings suited for your intended environment. Always verify that upgrades maintain proper function without compromising the firearm’s mechanical integrity. Remember, each modification should align with safe operational standards and local regulations.
Frequently Asked Questions
Is Building an AR-15 Legal in My State?
You need to check your state’s regulations and legal requirements before building an AR-15. Laws vary, so guarantee compliance to avoid legal issues.
Always prioritize safety and verify with local authorities or official resources first.
What Is the Estimated Cost to Build an AR-15?
Picture stacking parts on your workbench—expect a cost breakdown around $700 to $1,200.
Price comparison shows barrels and triggers vary most. Prioritize quality and safety to guarantee your build performs reliably and legally.
Can I Build an AR-15 Without Prior Gunsmithing Experience?
You can build an AR-15 without prior gunsmithing experience if you have the right tools needed and follow detailed assembly tips carefully. Prioritize safety, take your time, and consult reputable guides to guarantee proper construction.
Breaking the process down into manageable steps helps prevent mistakes. Make sure your workspace is organized and well-lit. Double-check each component’s fit before final assembly.
How Long Does It Typically Take to Assemble an AR-15?
Assembly time typically ranges from 2 to 4 hours, depending on your experience. The build process requires careful attention to detail and safety.
Take your time to guarantee all parts fit correctly and function reliably.
What Are the Common Mistakes to Avoid When Building an AR-15?
You’ll want to avoid improper tool selection and rushing assembly. Follow precise assembly tips, double-check torque specs, and guarantee proper parts fit.
Always prioritize safety by wearing eye protection and working in a clean, organized space.
Conclusion
Now that you’ve assembled your AR-15 with care and precision, remember, like a skilled captain mastering their ship, safety and routine checks keep you in command. Every part, from the upper receiver to the trigger, plays a crucial role—never overlook them.
Customize thoughtfully, but always prioritize reliability. With the right tools and knowledge, you’re not just building a rifle; you’re crafting responsibility.
Stay sharp, stay safe, and respect the power you wield. Building an AR-15 is more than assembly—it’s about commitment to safety and expertise.